SnortML: Machine Learning-based Exploit Detection
Introduction
The Intrusion Prevention System rules present in Cisco firewalls (before release 7.6) are written based on known and fixed patterns. While these rules, when properly written, are effective at catching all variations of attacks against a known vulnerability, they are not able to detect exploits written for new or unknown vulnerabilities. Building rules for zero-day vulnerabilities takes time, until which, unpatched systems remain vulnerable.
SnortML is a machine learning-based exploit detection engine for the Snort Intrusion Prevention System, introduced in release 7.6. With its new Machine Learning capabilities, attacks never seen before can be detected and blocked in real-time. Coverage can now be written for entire vulnerability classes, providing coverage even for new and unknown vulnerabilities. For the first release of the feature, coverage is provided to detect and block SQL injection attacks. The underlying model, built and trained by Talos, receives updates via the existing Lightweight Security Package (LSP) update system. These updates will include enhancements to SQL injection detection, as well as supporting new exploit types over time.
The SnortML rule
The SnortML IPS rules have the following characteristics:
- GID: 411
- Rule message: prepended with '(snort_ml)'
- Enabled by default in Maximum Detection IPS policy
The first SnortML rule introduced in release 7.6 has the following characteristics:
- GID: 411, SID: 1
- Description: "(snort_ml) potential threat found in HTTP parameters via Neural Network Based Exploit Detection (411:1:1)”
Enabling the SnortML rule
The SnortML rule is enabled by default when using the base intrusion policy Maximum Detection. If the base intrusion policy used in your configuration is other than Maximum Detection, the SnortML rule will be disabled by default. To enable it follow the below steps:
- Login to the FMC GUI. Navigate to Policies > Intrusion
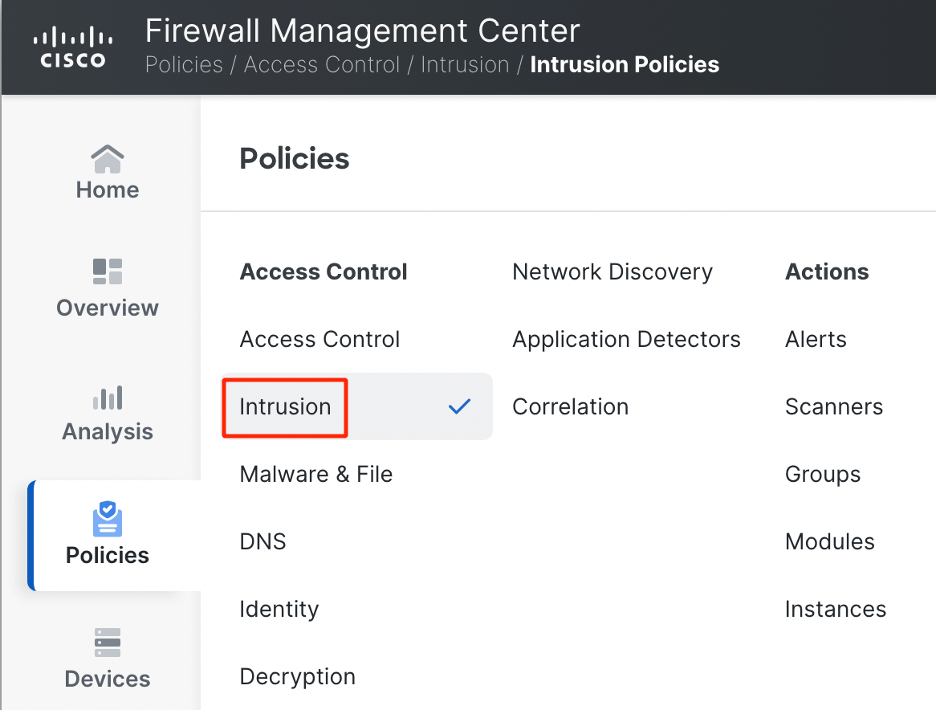
Navigating to Intrusion Policy
- Click on Snort 3 Version against the Intrusion Policy you want to edit.

Note – You can read through the note About Intrusion Policies that pops up to understand the Snort 3 version of Intrusion policies. Once you are done reading, click on Dismiss.
- Under the Summary tab, click on View Effective Policy.
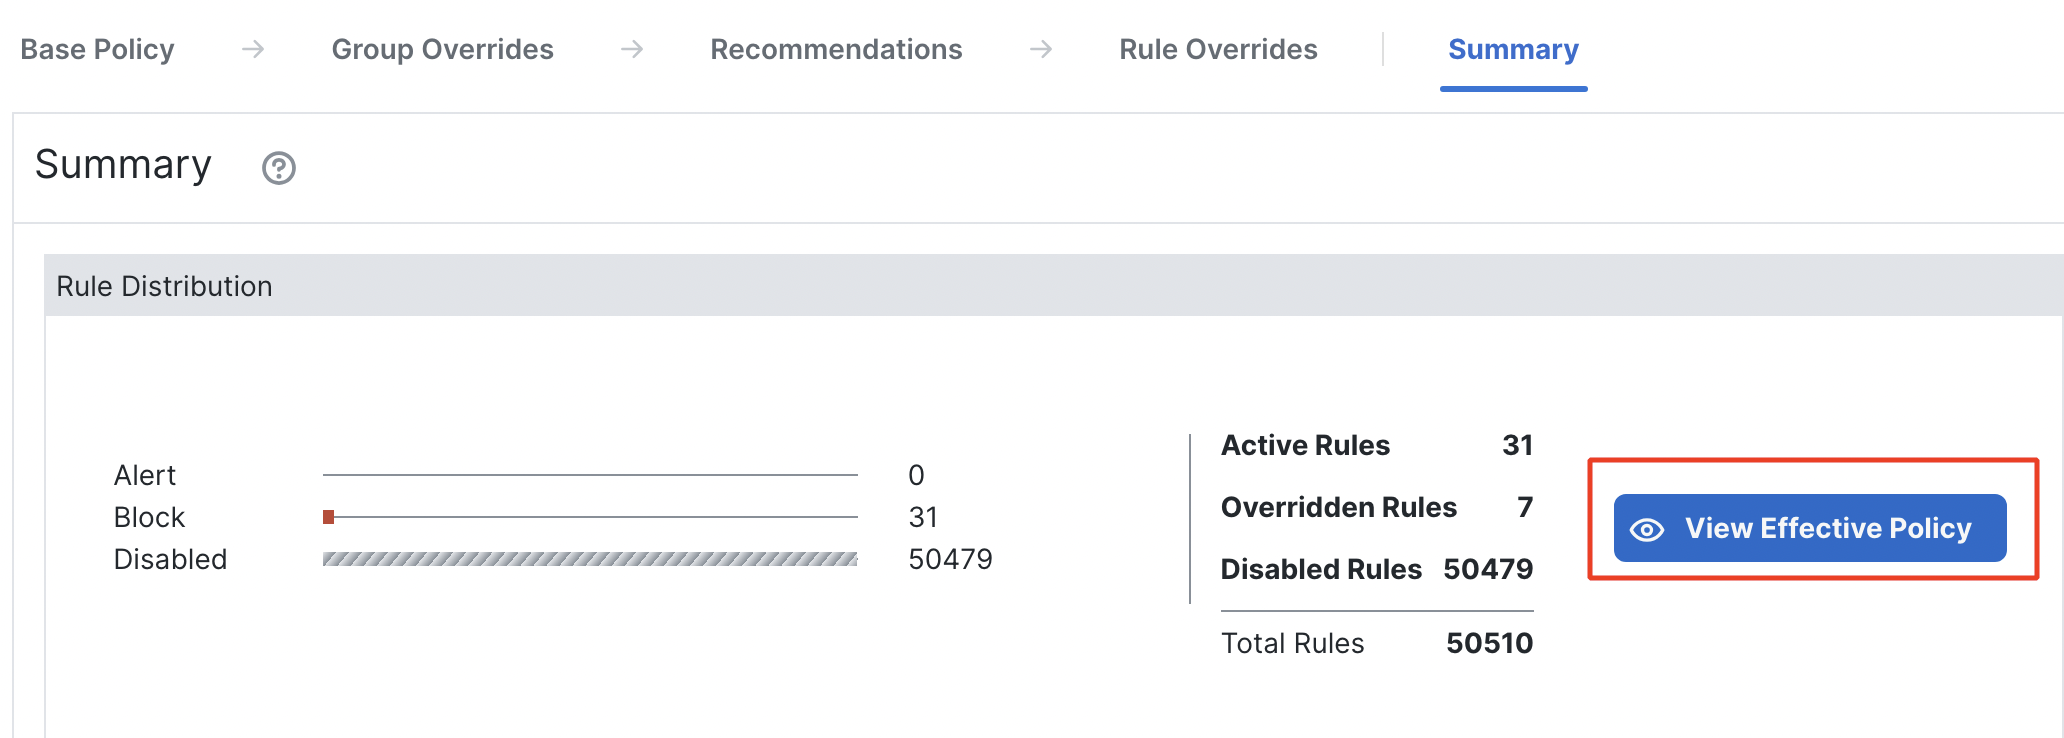
View Effective Policy
- In the Filter bar, type in 'GID=411' to filter the SnortML rule. Hit Enter.
Note – Explore the other options available for filtering out intrusion rules.
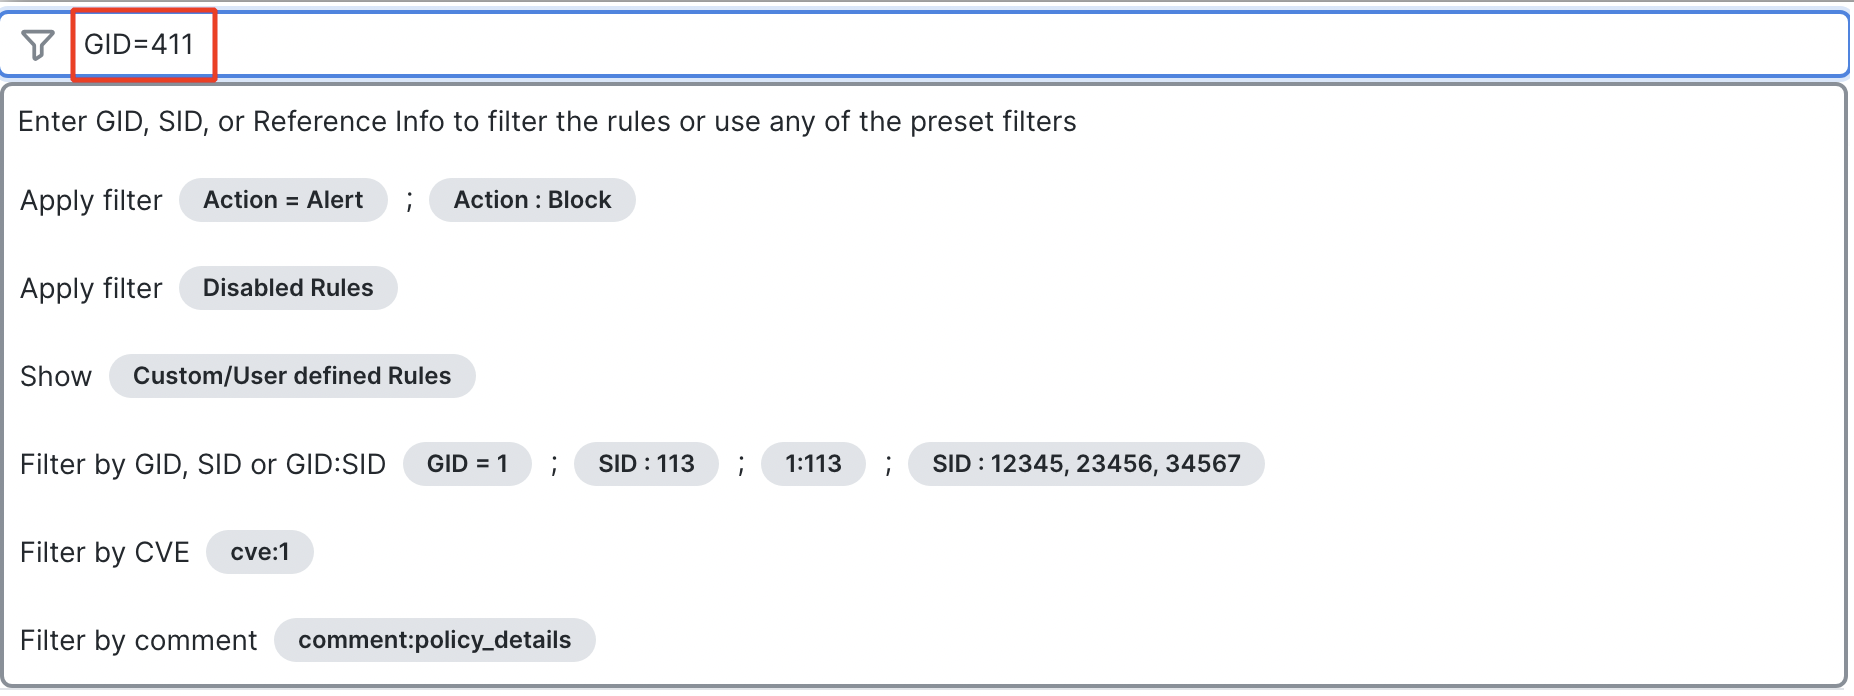
- Click on the drop-down menu under Rule Action and change the action from Disabled to Block.
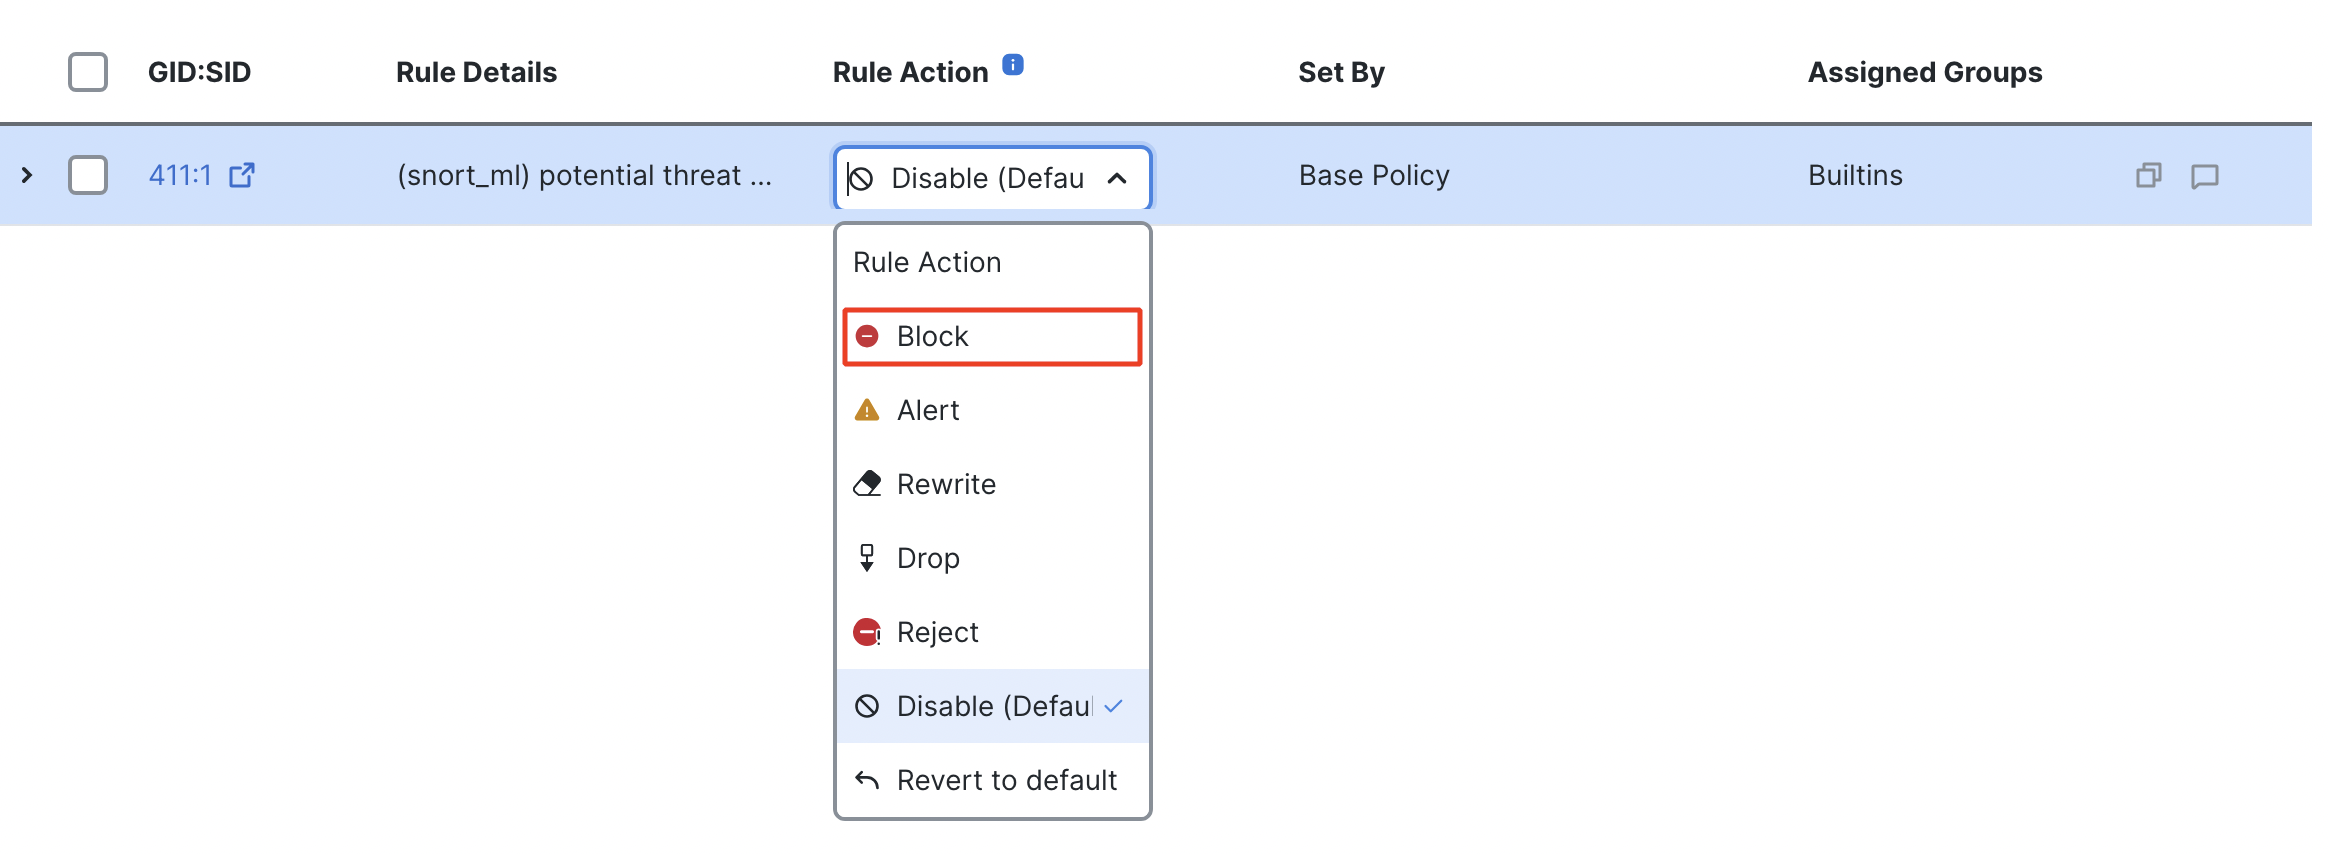
Rule Action options

Rule Action changed to Block
- Once the Rule Action has been changed successfully, go back to the Summary page by clicking on Summary and verify if the number of Overridden rules has increased by one.

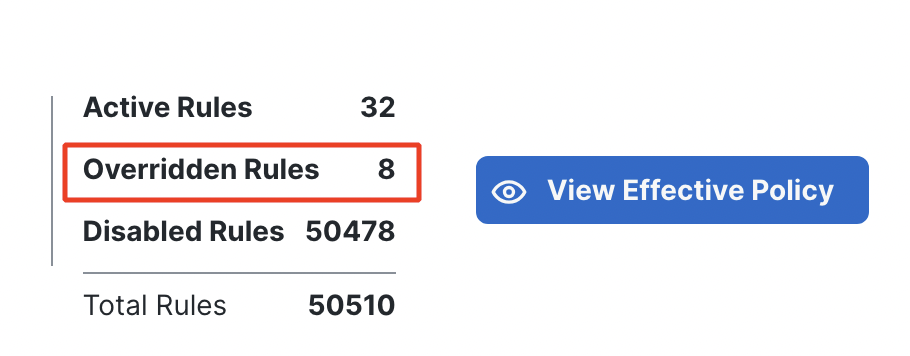
Summary of the rules
For the SnortML intrusion rule to work the underlying engine has to be enabled. This is done by enabling the snort_ml inspector under Network Analysis Policy. Similar to Intrusion Policy, Network Analysis Policy with Base Policy set as Maximum Detection, has the snort_ml inspector enabled by default.
If the Base Policy is other than Maximum Detection, follow the below steps to enable the snort_ml inspector:
- Navigate to Policies > Intrusion

Navigating to Intrusion Policy
- Click on Network Analysis Policies.
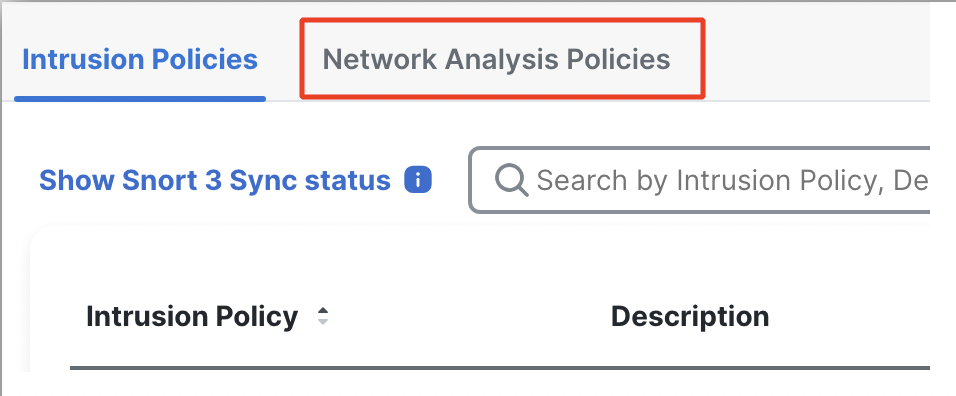
Navigating to Network Analysis Policy
- Click on Snort3 Version against the Network Analysis Policy you want to edit.

- Expand the inspector snort_ml.
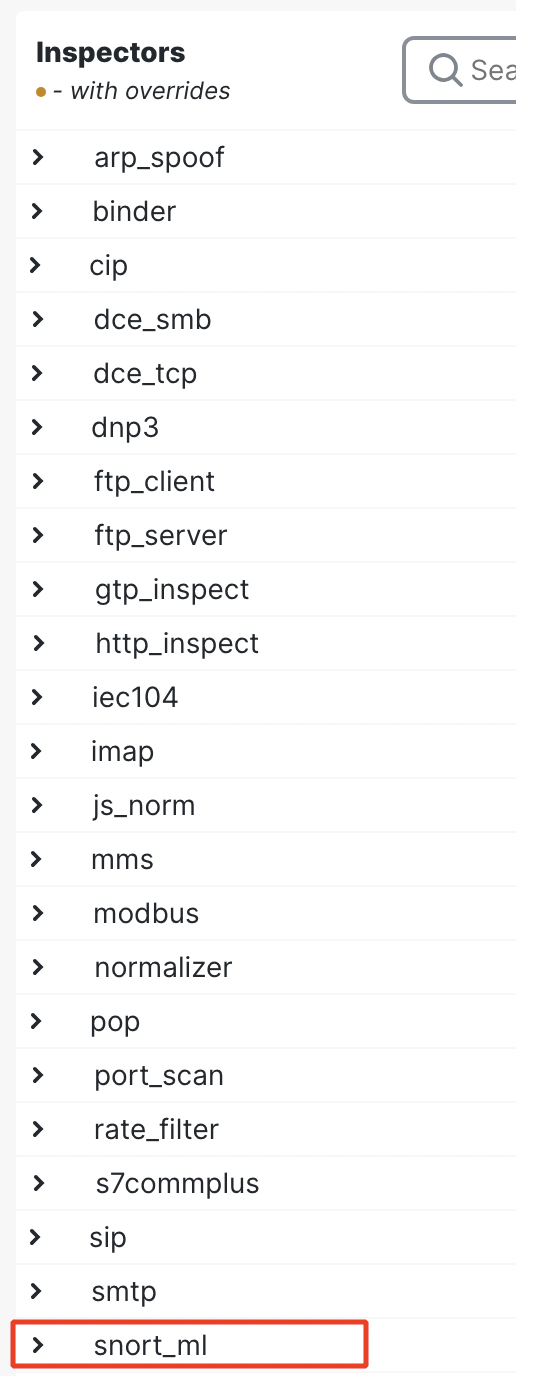
- Click on the edit icon to edit the configuration of the inspector.

- Modify the configuration from "enabled": false to "enabled": true.
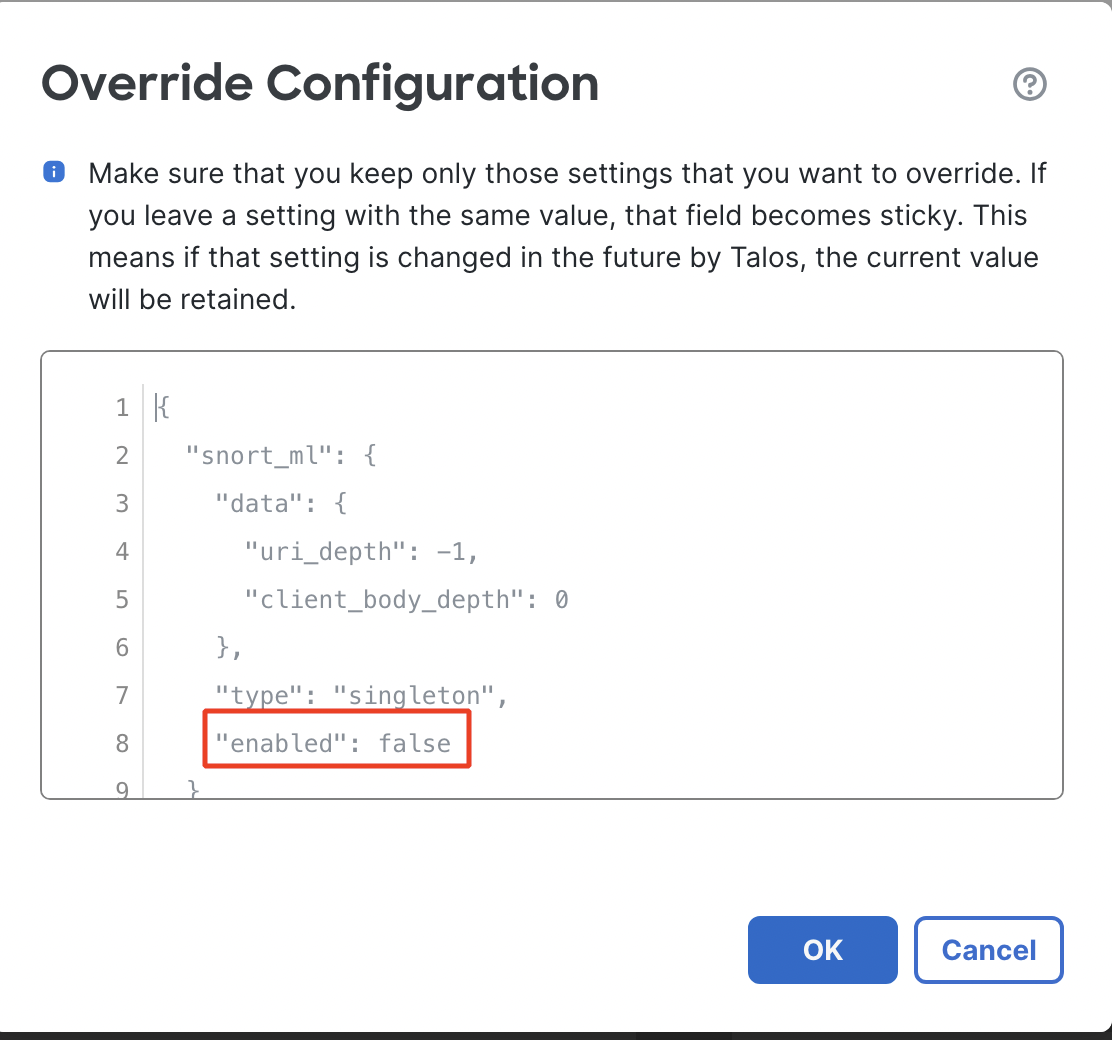
Click anywhere outside the text box to verify the JSON format. Once you see JSON syntax ok, click on OK to save the configuration.
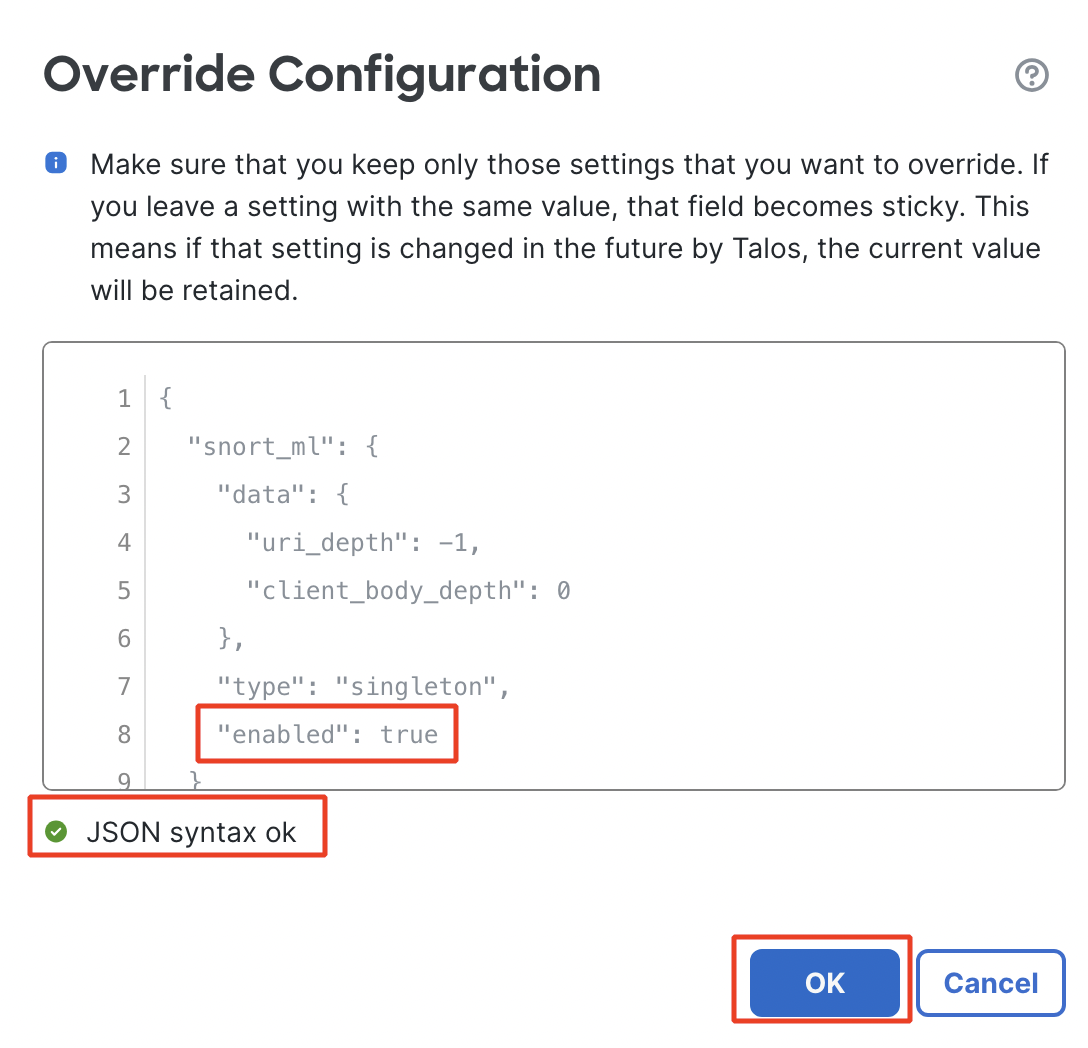
The Overridden Configuration will display the changes made to the inspector configuration.

- Click on Save to save the changes made to the Network Analysis Policy.

Note - Make sure to apply the modified Intrusion Policy/Maximum Detection Intrusion Policy in your Access Control policy's relevant Access Control rule. Also, apply the modified Network Analysis Policy/Maximum Detection Network Analysis Policy under the Advanced Settings of your Access Control Policy.
Viewing events generated for the SnortML rule
Unified Event Viewer
- Navigate to Analysis > Unified Events
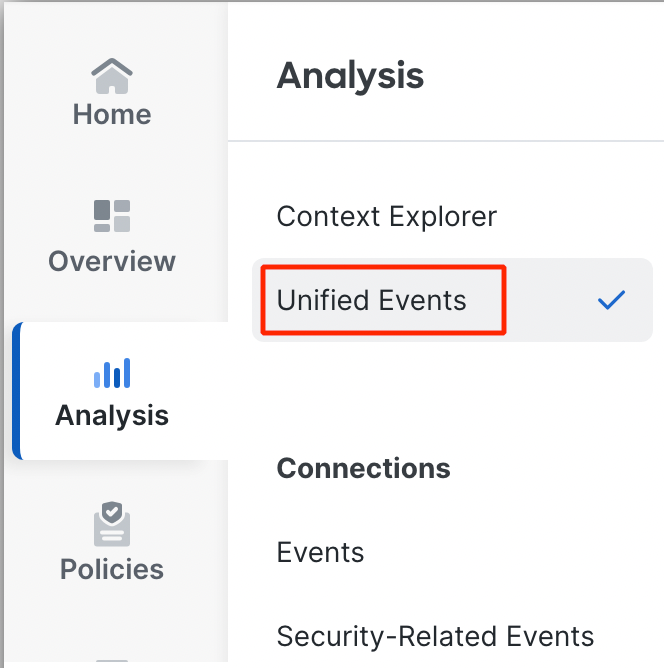
Navigating to Unified Events
- In the Search bar at the top type in Intrusion and select Intrusion Message.
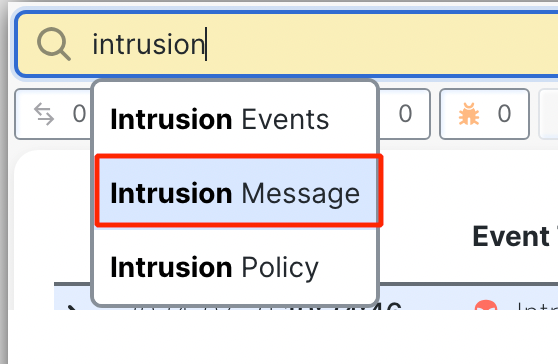
- Type in 'snort_ml' and click on Apply.

Filtering Unified Events
- Intrusion events generated due to the SnortML rule will be displayed as shown in the example below.

Unified events filtered by SnortML rule
To view the details of a particular event, click on the angle bracket on the left-most side of the event row.

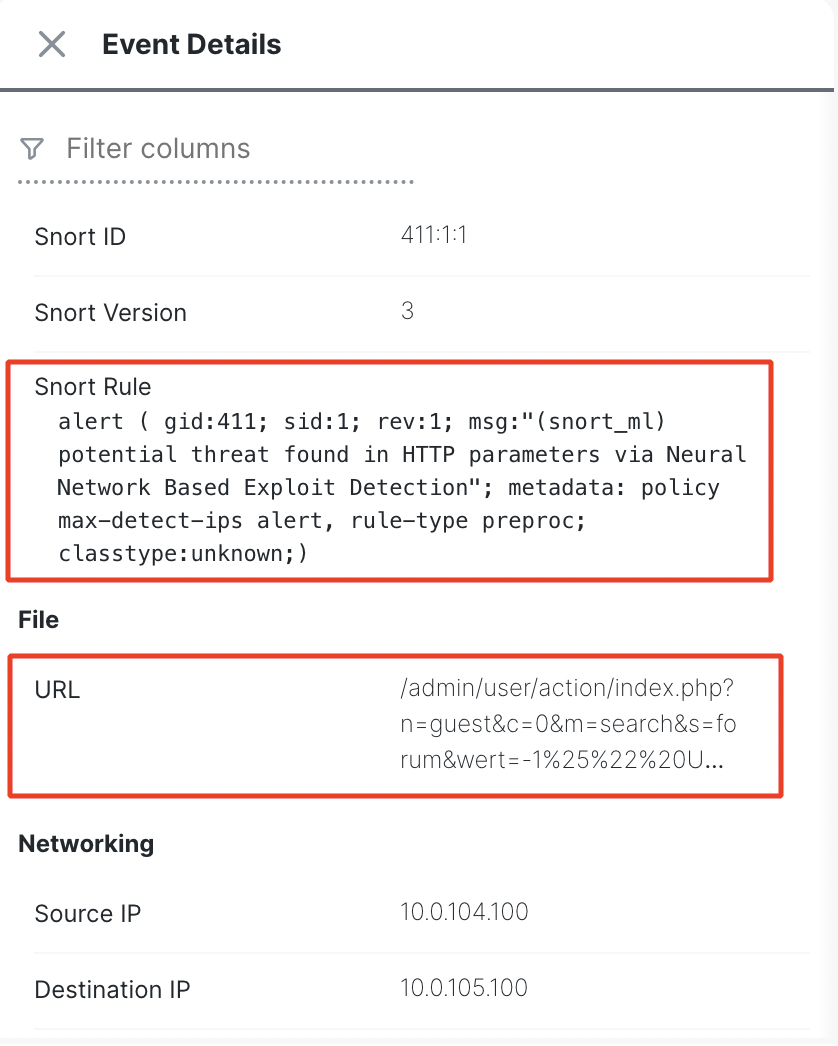
Event details will pop up on the right side as below.
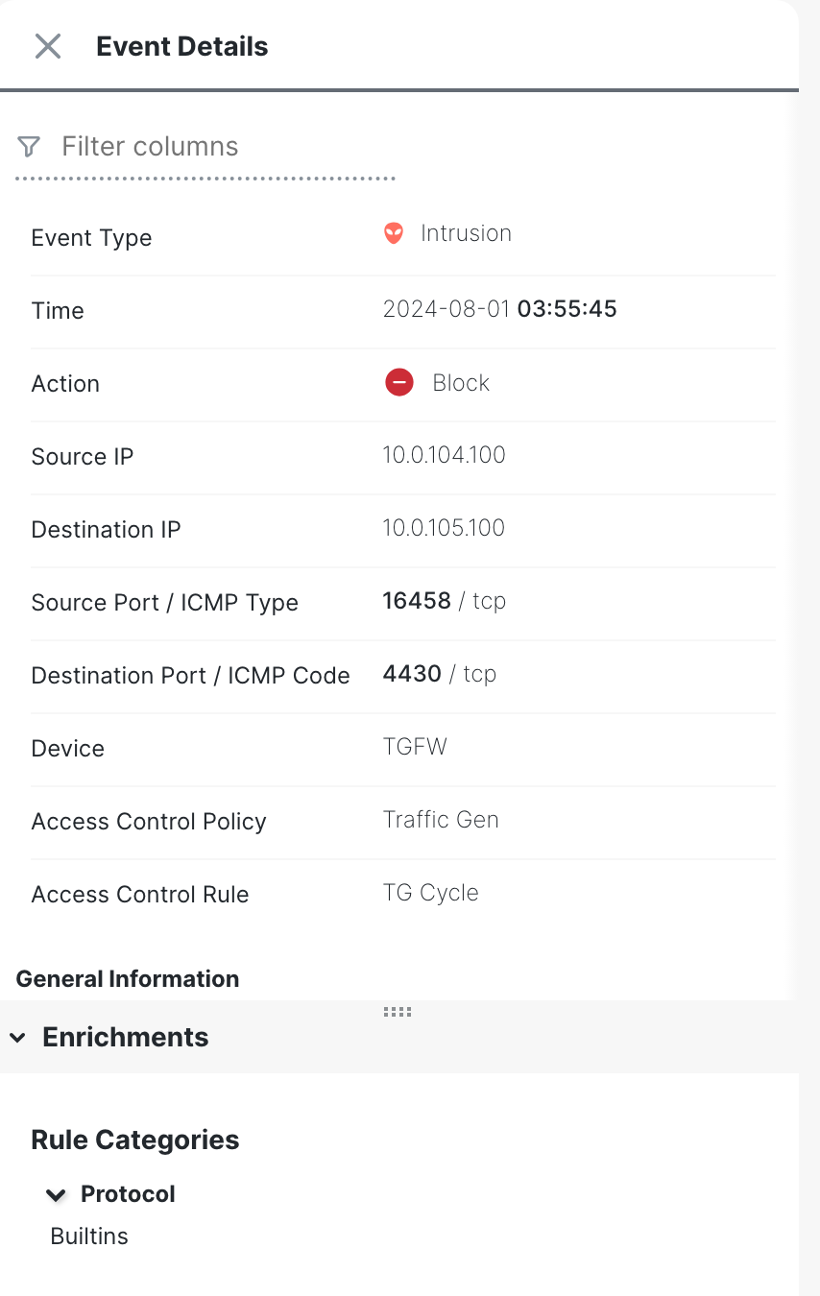
Event Details
Scroll down through the Event Details to view further details such as the Snort rule, the URL triggering the rule, etc.
Intrusion Events
- Click on Analysis > Events under the Intrusions section.
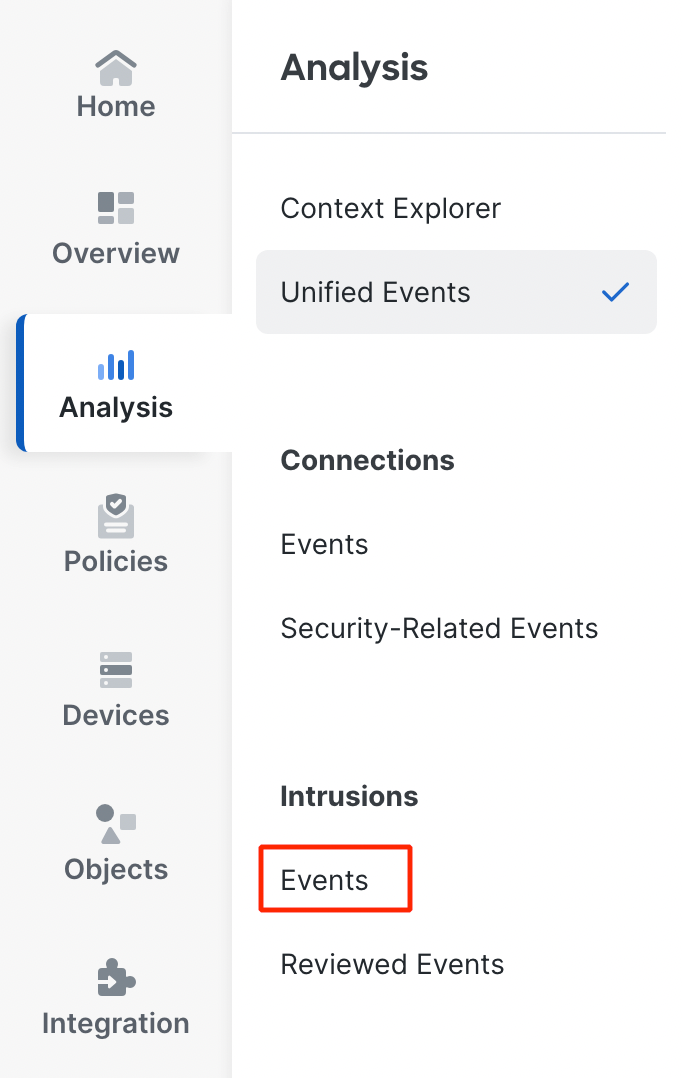
Navigating to Intrusion events
- Click on Table View of Events to get a detailed view of the Intrusion events.
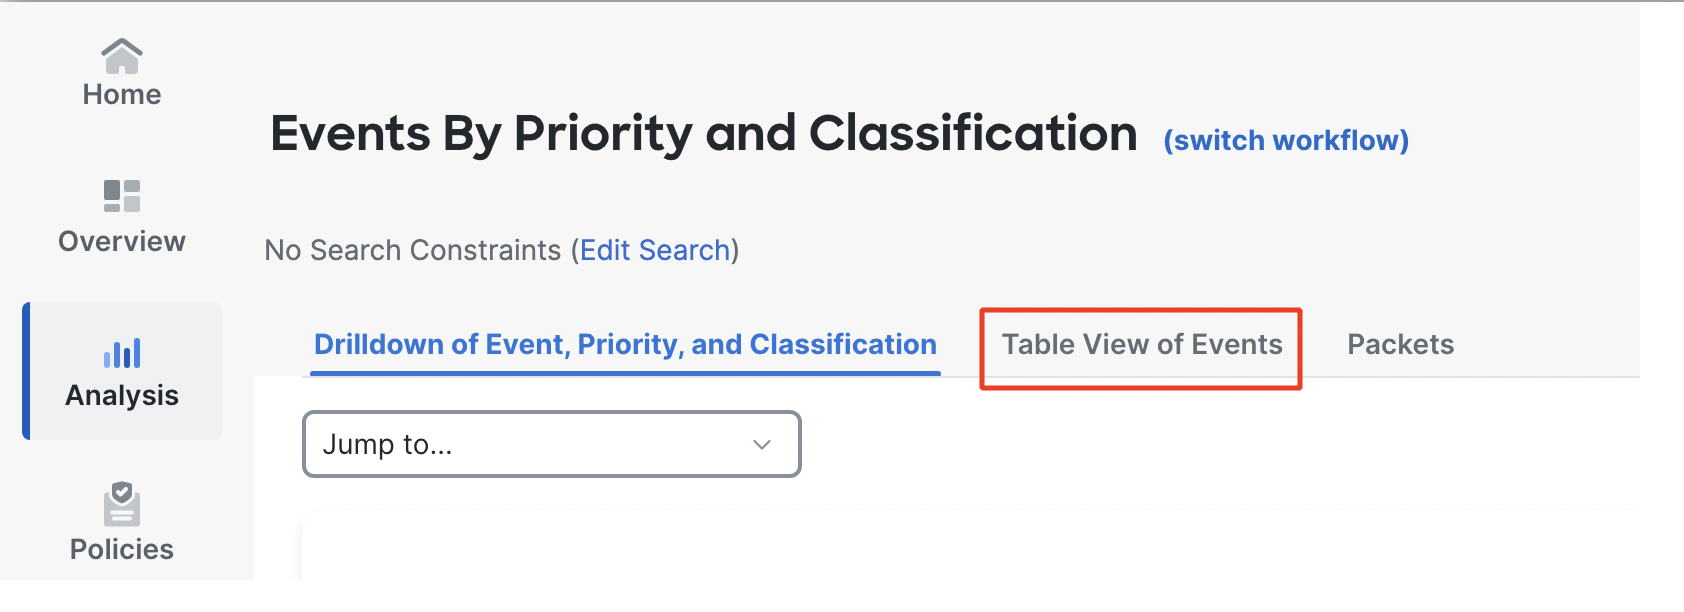
Table View of Events
Explore all the columns displayed in this view
- Click on Edit Search to filter the events.
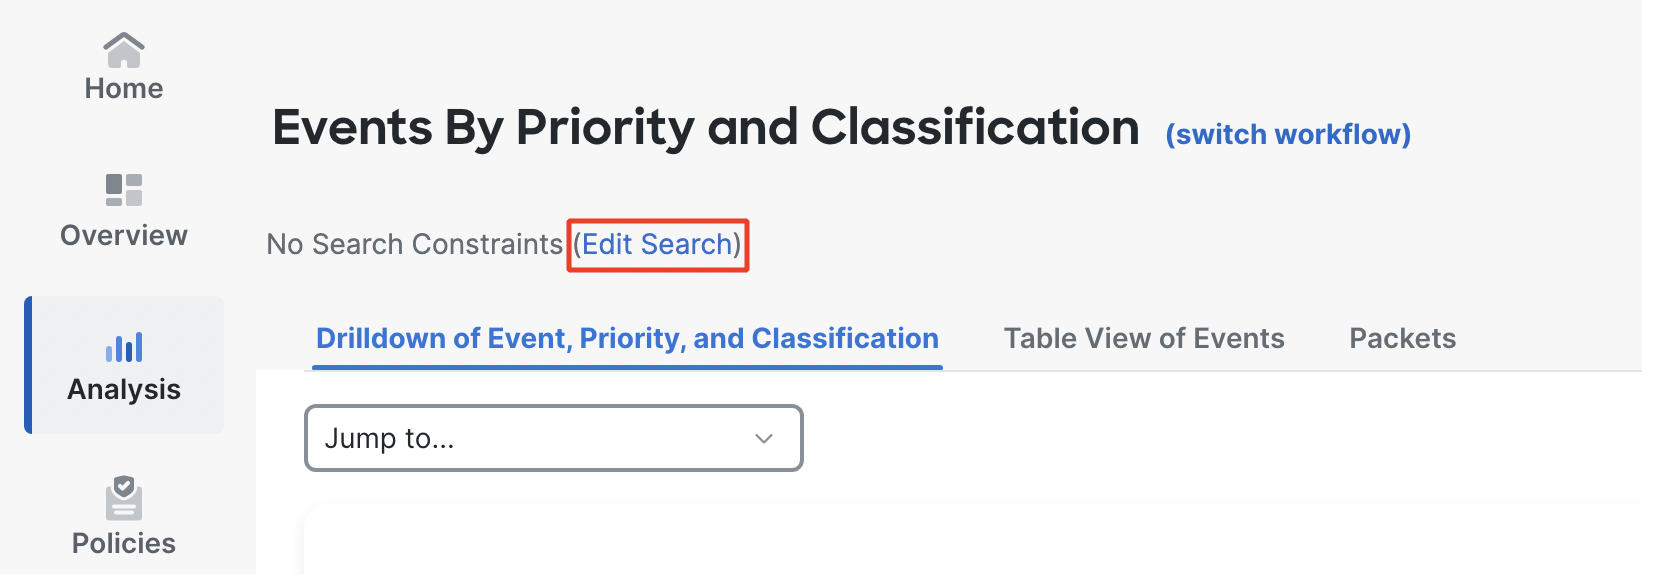
- Type in snort_ml against Message and click on Search.

Filtering Intrusion events
- All the Intrusion events generated by SnortML rule will be displayed.

Table view of intrusion events generated by SnortML rule
Using the scroll bar at the bottom, scroll to the right to view all the other columns under Intrusion events viewer.
Summary
SnortML uses advanced algorithms that analyze patterns and behaviors rather than relying solely on predefined signatures. By adapting to new and evolving threats, SnortML rules offer enhanced detection capabilities and quicker responses to emerging threats that traditional signature-based systems might miss.
Additional Resources
https://blog.snort.org/2024/03/talos-launching-new-machine-learning.html
Updated 7 months ago
