
Tenable Connector for Vulnerability Mapping
Introduction
Tenable Vulnerability Management is widely used by enterprises to identify and assess vulnerabilities across their networks and devices. It gathers host-level insights through network scanners, local agents, and IoT sensors, building a comprehensive picture of each asset and its associated vulnerabilities (CVEs).
With the latest release of Cisco Security Cloud Control (SCC), Cisco introduces the Tenable connector, a feature that brings Tenable's vulnerability insights directly into Hybrid Mesh Firewall. The connector synchronizes host-to-CVE mappings from Tenable into Cloud-Delivered Firewall Management Center's internal host database, and additionally creates a dynamic object representing all known-vulnerable hosts. Administrators can use this object within access control rules—such as restricting vulnerable hosts from accessing sensitive resources—or rely on the vulnerability data to enhance intrusion policies with environment-specific virtual patching. Together, these capabilities allow the firewall to apply informed policy decisions based on the actual vulnerabilities present in the environment.
Requirements and limitations
The following requirements and limitations apply when using the Tenable connector.
Tenable requirements:
- Only Tenable Vulnerability Management is supported. The connector requires Tenable's cloud-based vulnerability management platform. Tenable Security Center and standalone Nessus scanner deployments are not supported.
- Administrator privileges are strongly recommended. While the connector may function with lower privilege levels, reduced access can result in incomplete host inventories and partial CVE vulnerability.
Cisco requirements:
- Cloud-Delivered Firewall Management Center (cdFMC) is required for full functionality.
- On-Premises Firewall Management Center (FMC) supports only dynamic object synchronization. Vulnerability mapping to apply intrusion policy virtual patching is currently not supported for on-prem FMC. Full support is planned for a future release.
Obtain the Tenable API key
Before creating the Tenable connector in Security Cloud Control, you must obtain an API key from Tenable Vulnerability Management.
-
Log in to Tenable Cloud.
-
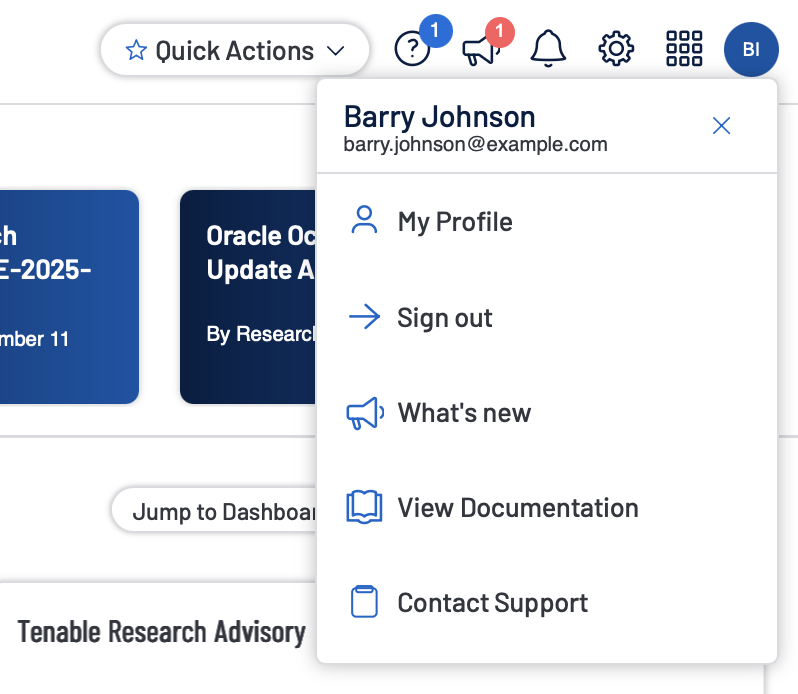
Click your profile image and select My Profile.
-
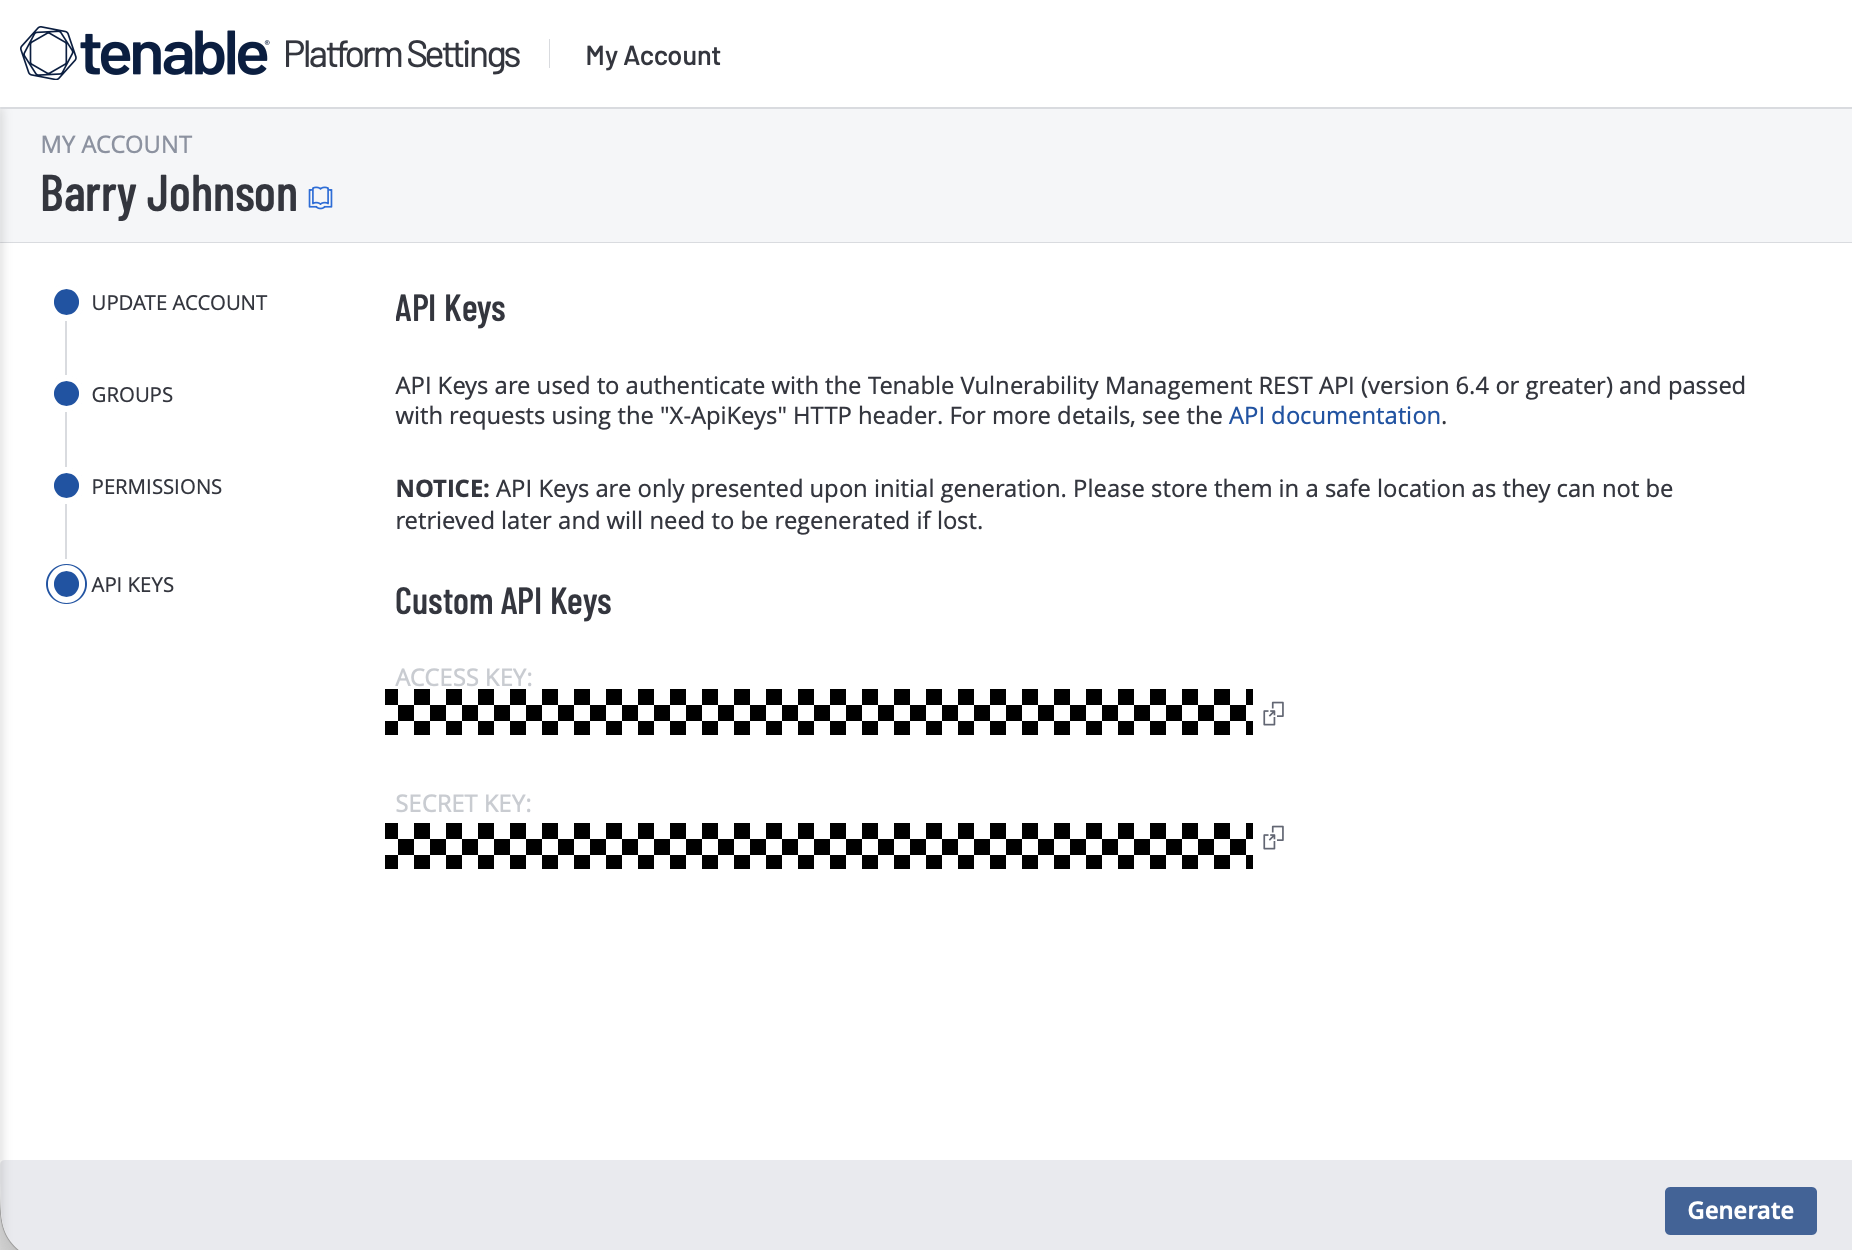
In the API Keys section, click Generate, and confirm the action.
-
The system will display your Access Key and Secret Key. Record both in a secure location such as a password vault.
Tenable API key limitation
API Keys inherit the permissions of the user account that generates them. Create the key using an account with full visibility to all hosts and vulnerabilities to ensure complete data synchronization.
If the Tenable interface has changed, refer to official Tenable documentation for updated guidance.
Create the Tenable connector
Cisco leverages the Dynamic Attribute Connector to integrate Tenable into Hybrid Mesh Firewall. Follow the steps below to configure the Tenable connector.
-
Log in to Security Cloud Control at https://security.cisco.com.
-
Navigate to Firewall > Administration > Dynamic Attributes Connector.
-
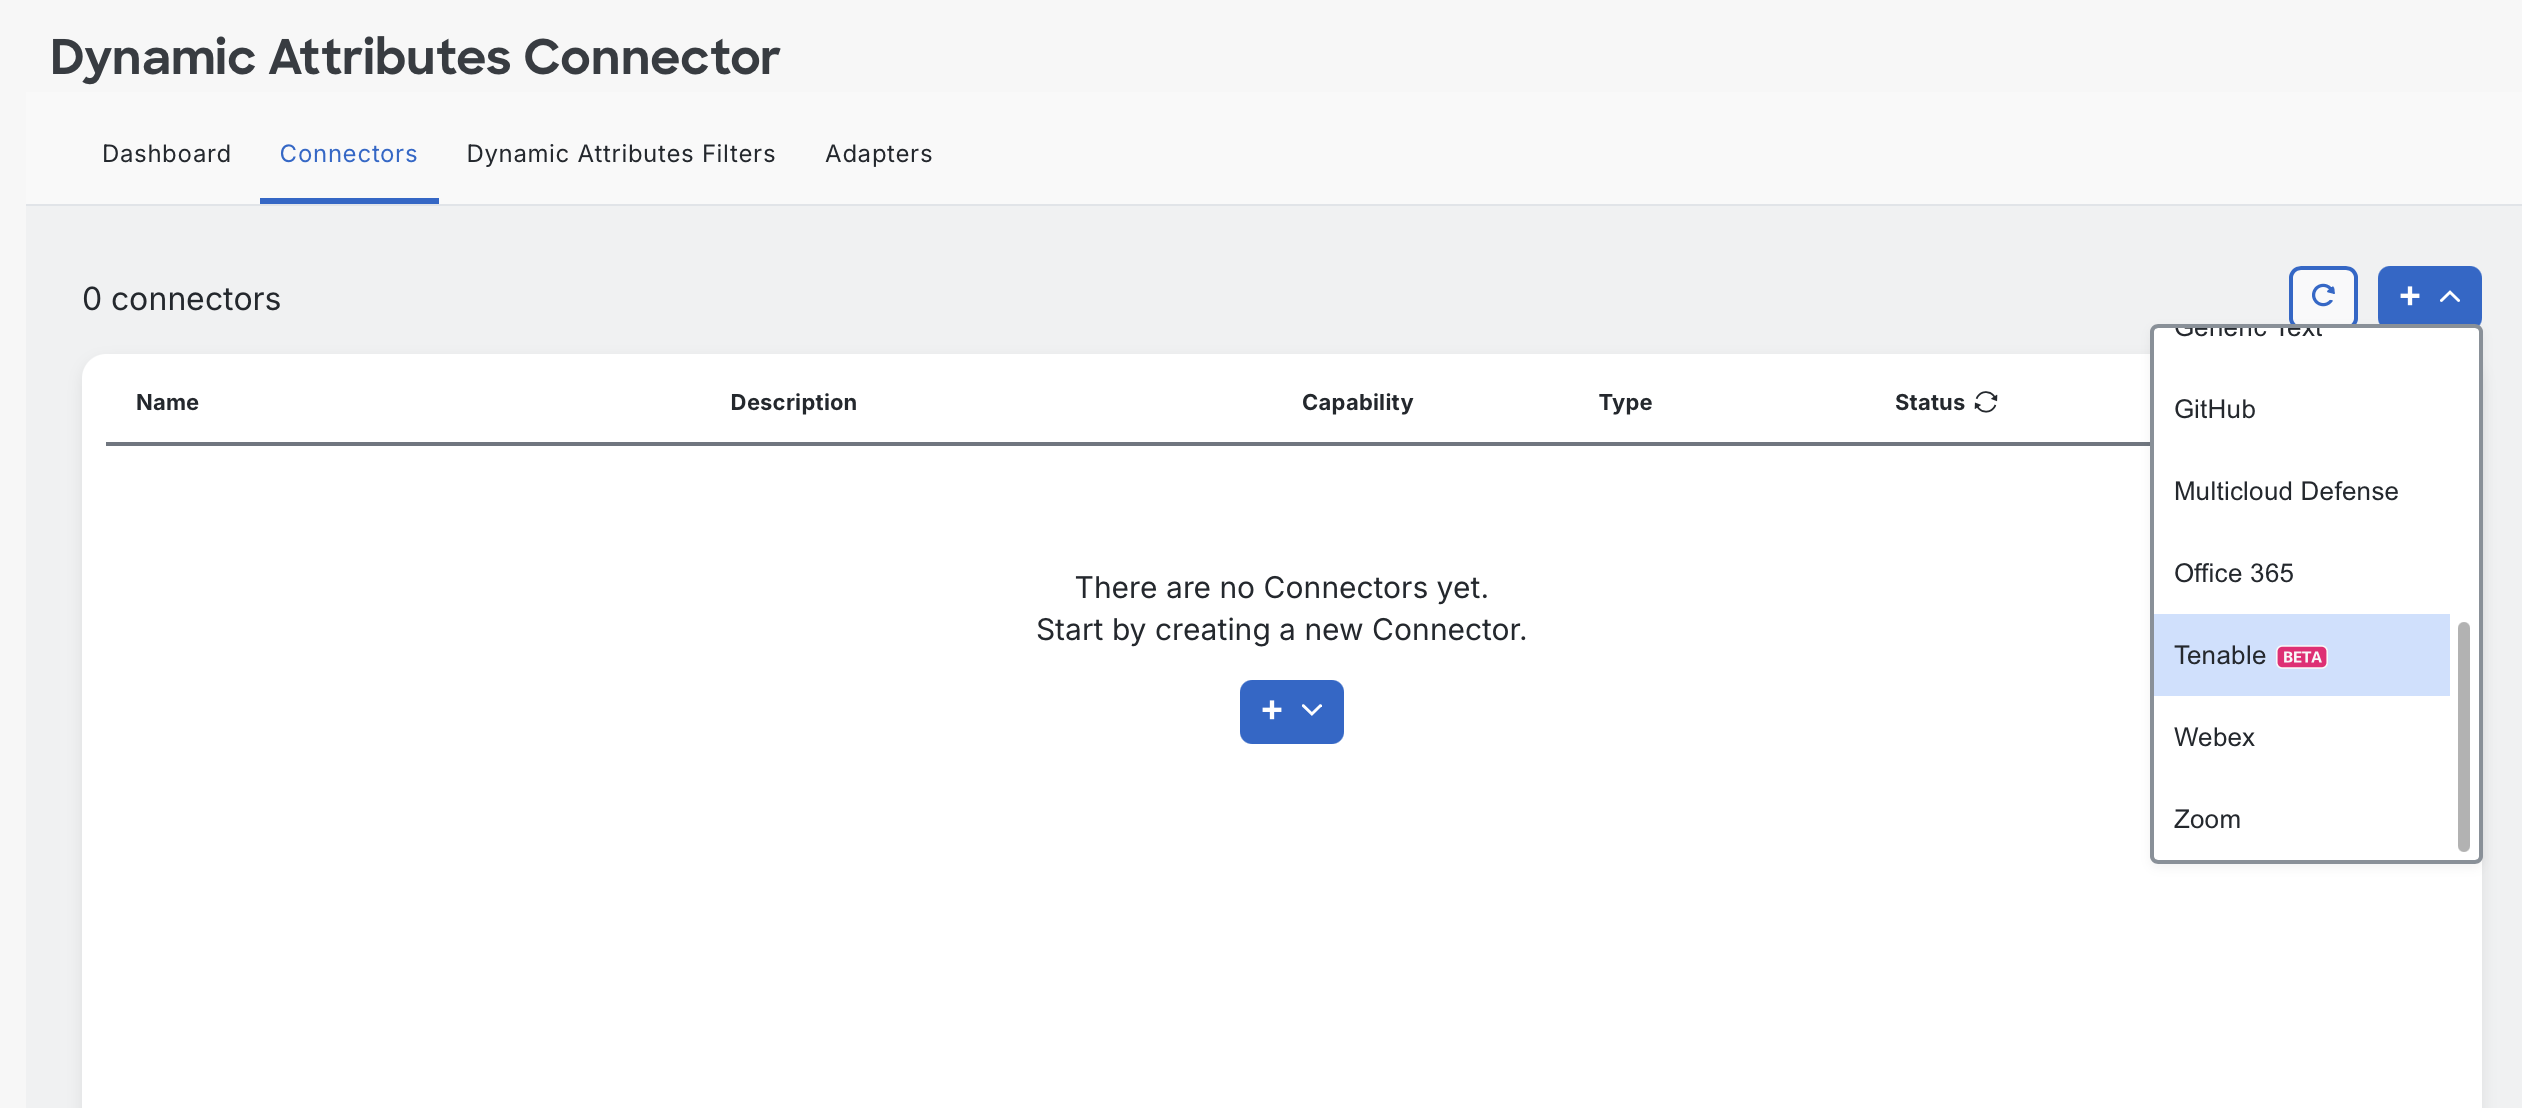
On the Connectors tab, click + and select Tenable.
-
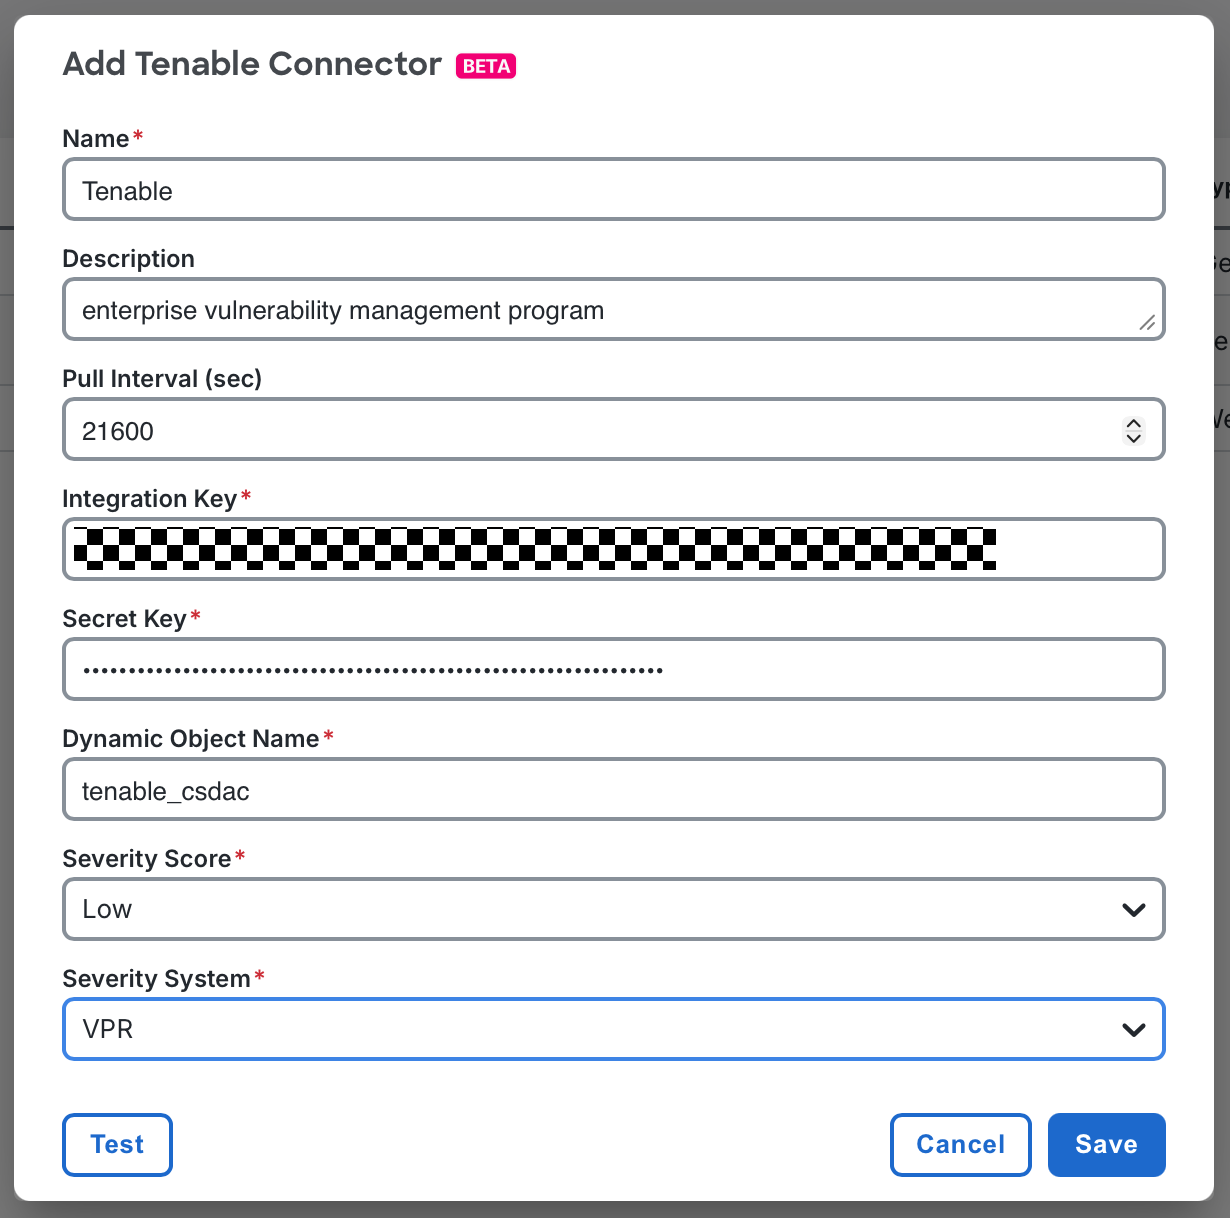
In the Add Tenable Connector window, provide:
- Name: A name for your connector.
- Description: An optional description.
- Pull Interval (sec): Frequency for retrieving updated vulnerabilities. Default: 21600 seconds (6 hours). In larger environments, each synchronization cycle may take several minutes, so to avoid overlapping cycles, Cisco recommends setting this value no lower than 1800 seconds (30 minutes).
- Integration Key:Your Tenable Access Key.
- Secret Key: Your Tenable Secret Key.
- Dynamic Object Name: Name for the dynamic object that will contain the current list of vulnerable hosts.
- Severity Score: Minimum severity level to include for CVE mapping.
- Severity System: Choose one of the following scoring systems:
- VPR: Vulnerability Priority Rating (VPR) is Tenable's dynamic scoring method that incorporates vulnerability characteristics, observed threat activity, and host profile. Because it reflects current conditions, a vulnerability's VPR score can change over time.
- CVSSv3: The industry-standard severity framework that rates vulnerabilities based on fixed technical attributes such as attack vector, complexity, and impact. Its scores are static and do not change with real-world exploit trends.
Tenable connector configuration
-
Click Test to validate connectivity, then click Save.
-
Your connector should now appear in the list with a status of OK.
If this is your first time using the Dynamic Attributes Connector, configure an adapter to connect to your Firewall Management Center:
-
Go to the Adapters tab.
-
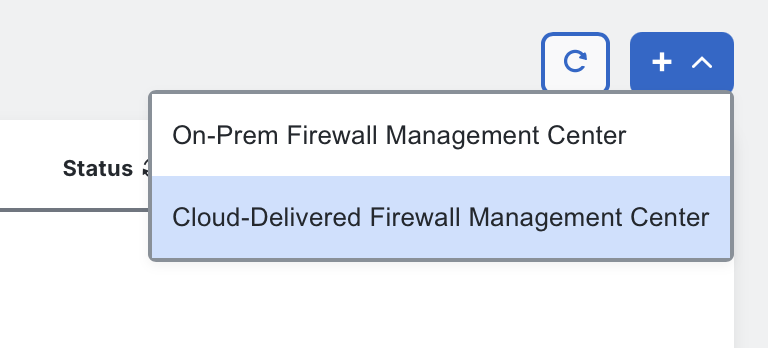
Click + and select Cloud-Delivered Firewall Management Center or On-Prem Firewall Management Center.
The Tenable connector is now active and synchronizing vulnerability intelligence into your Firewall Management Center. The next sections explain how this data is used within policies.
Tenable dynamic object
The Tenable connector creates a dynamic object within your Firewall Management Center, containing the IP addresses of all hosts with at least one vulnerability at or above the configured severity score threshold. For example, if the threshold is set to medium, the object will include all hosts that have any vulnerability rated medium or higher.
Dynamic objects can be used within access control rules just like traditional network objects. However, the contents of a dynamic object update automatically as Tenable discovers new vulnerabilities or as hosts are remediated. These updates are pushed directly to managed firewalls, and no policy deployment is required for the updated IP list to take effect.
Administrators can use this dynamic object in any policy scenario they find useful. Common examples include restricting vulnerable hosts from access sensitive network segments (such as PCI or PHI environments) or limiting compromised systems to remediation networks until they are patched.
To use a dynamic object in an access control rule, open the access control rule editor and select the Dynamic Attributes tab.
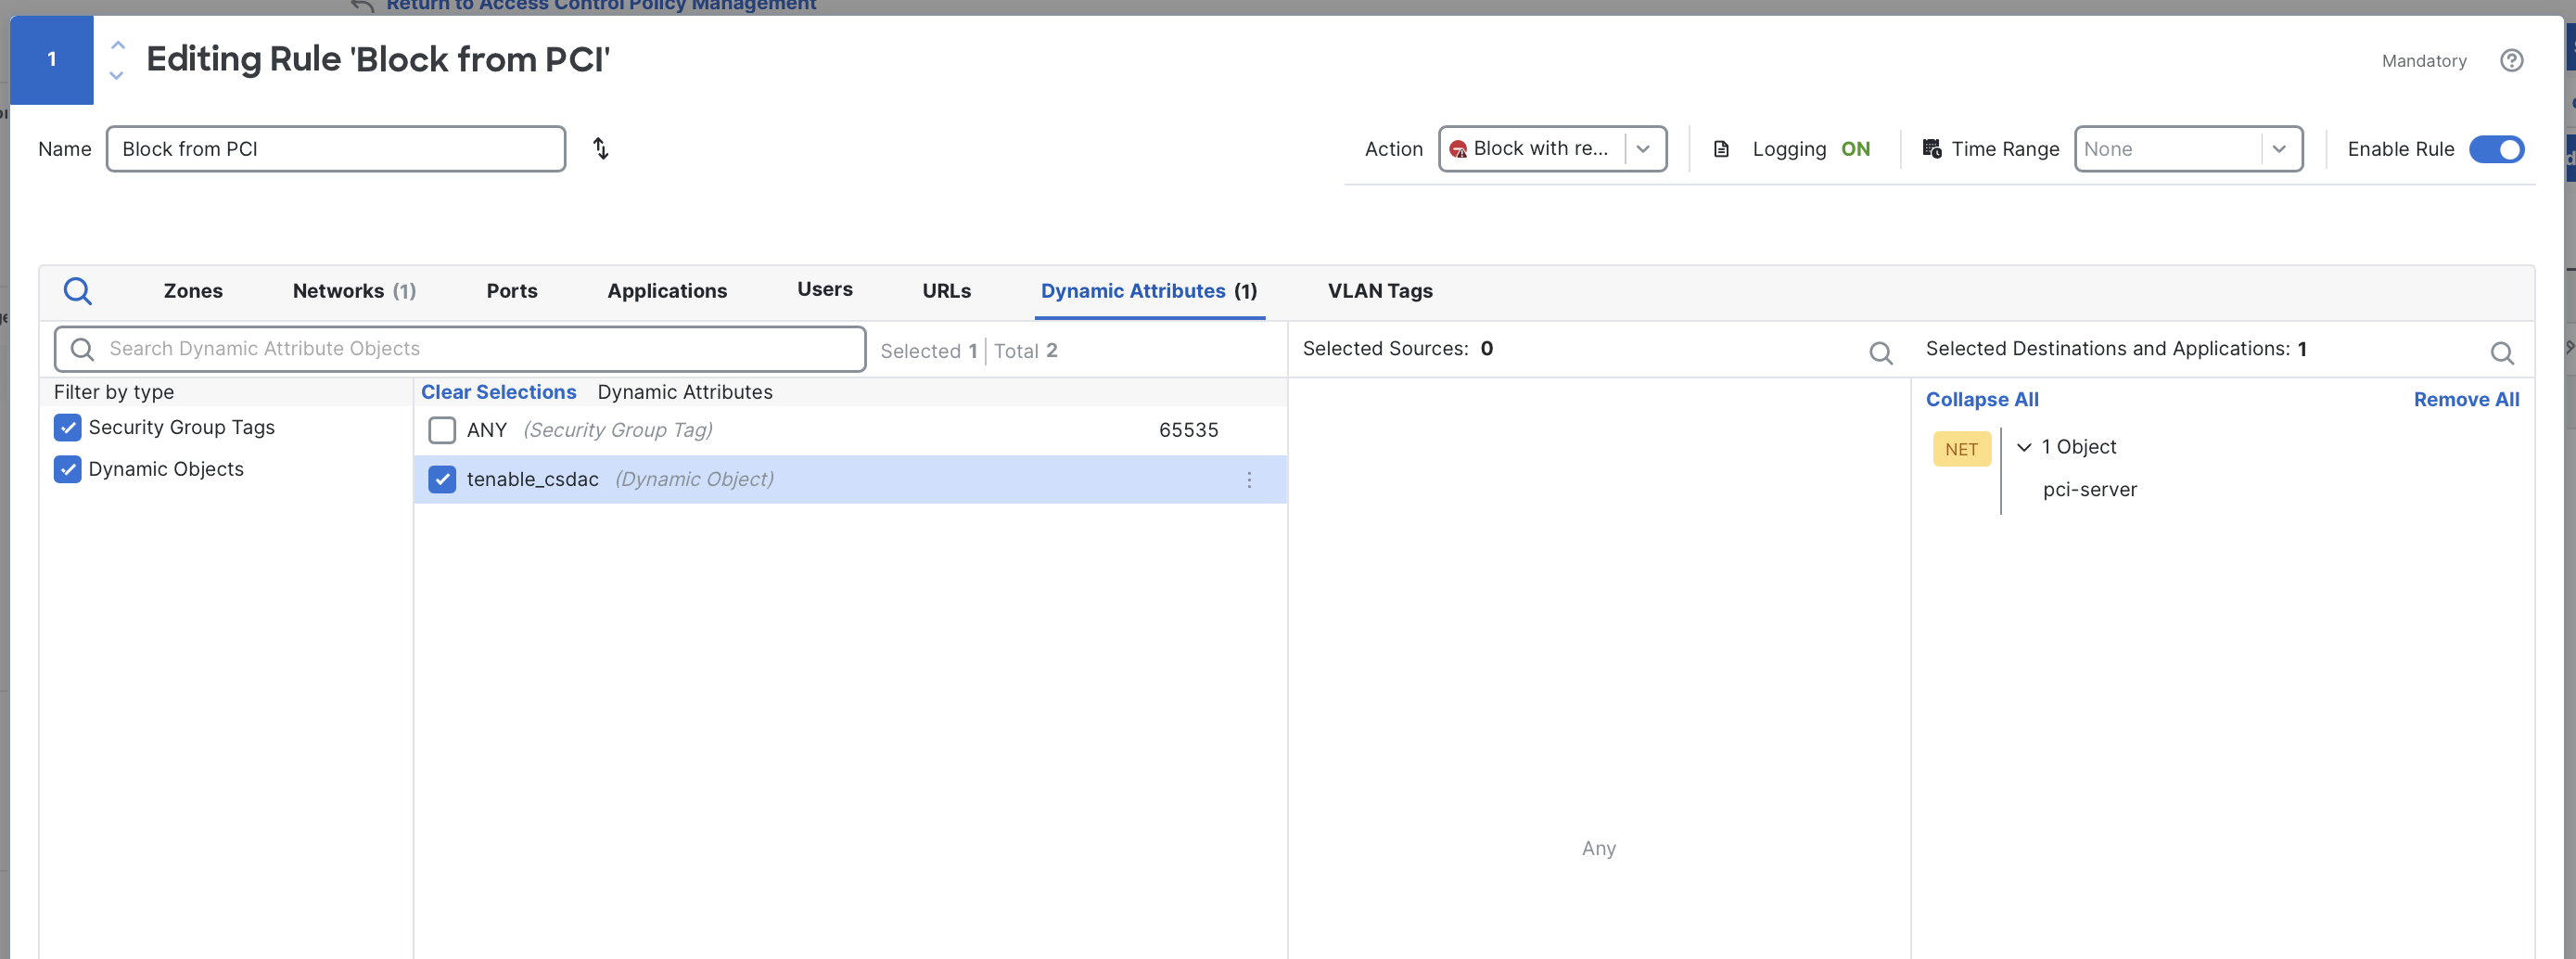
Select dynamic objects from the Dynamic Attributes tab in the access control rule editor.
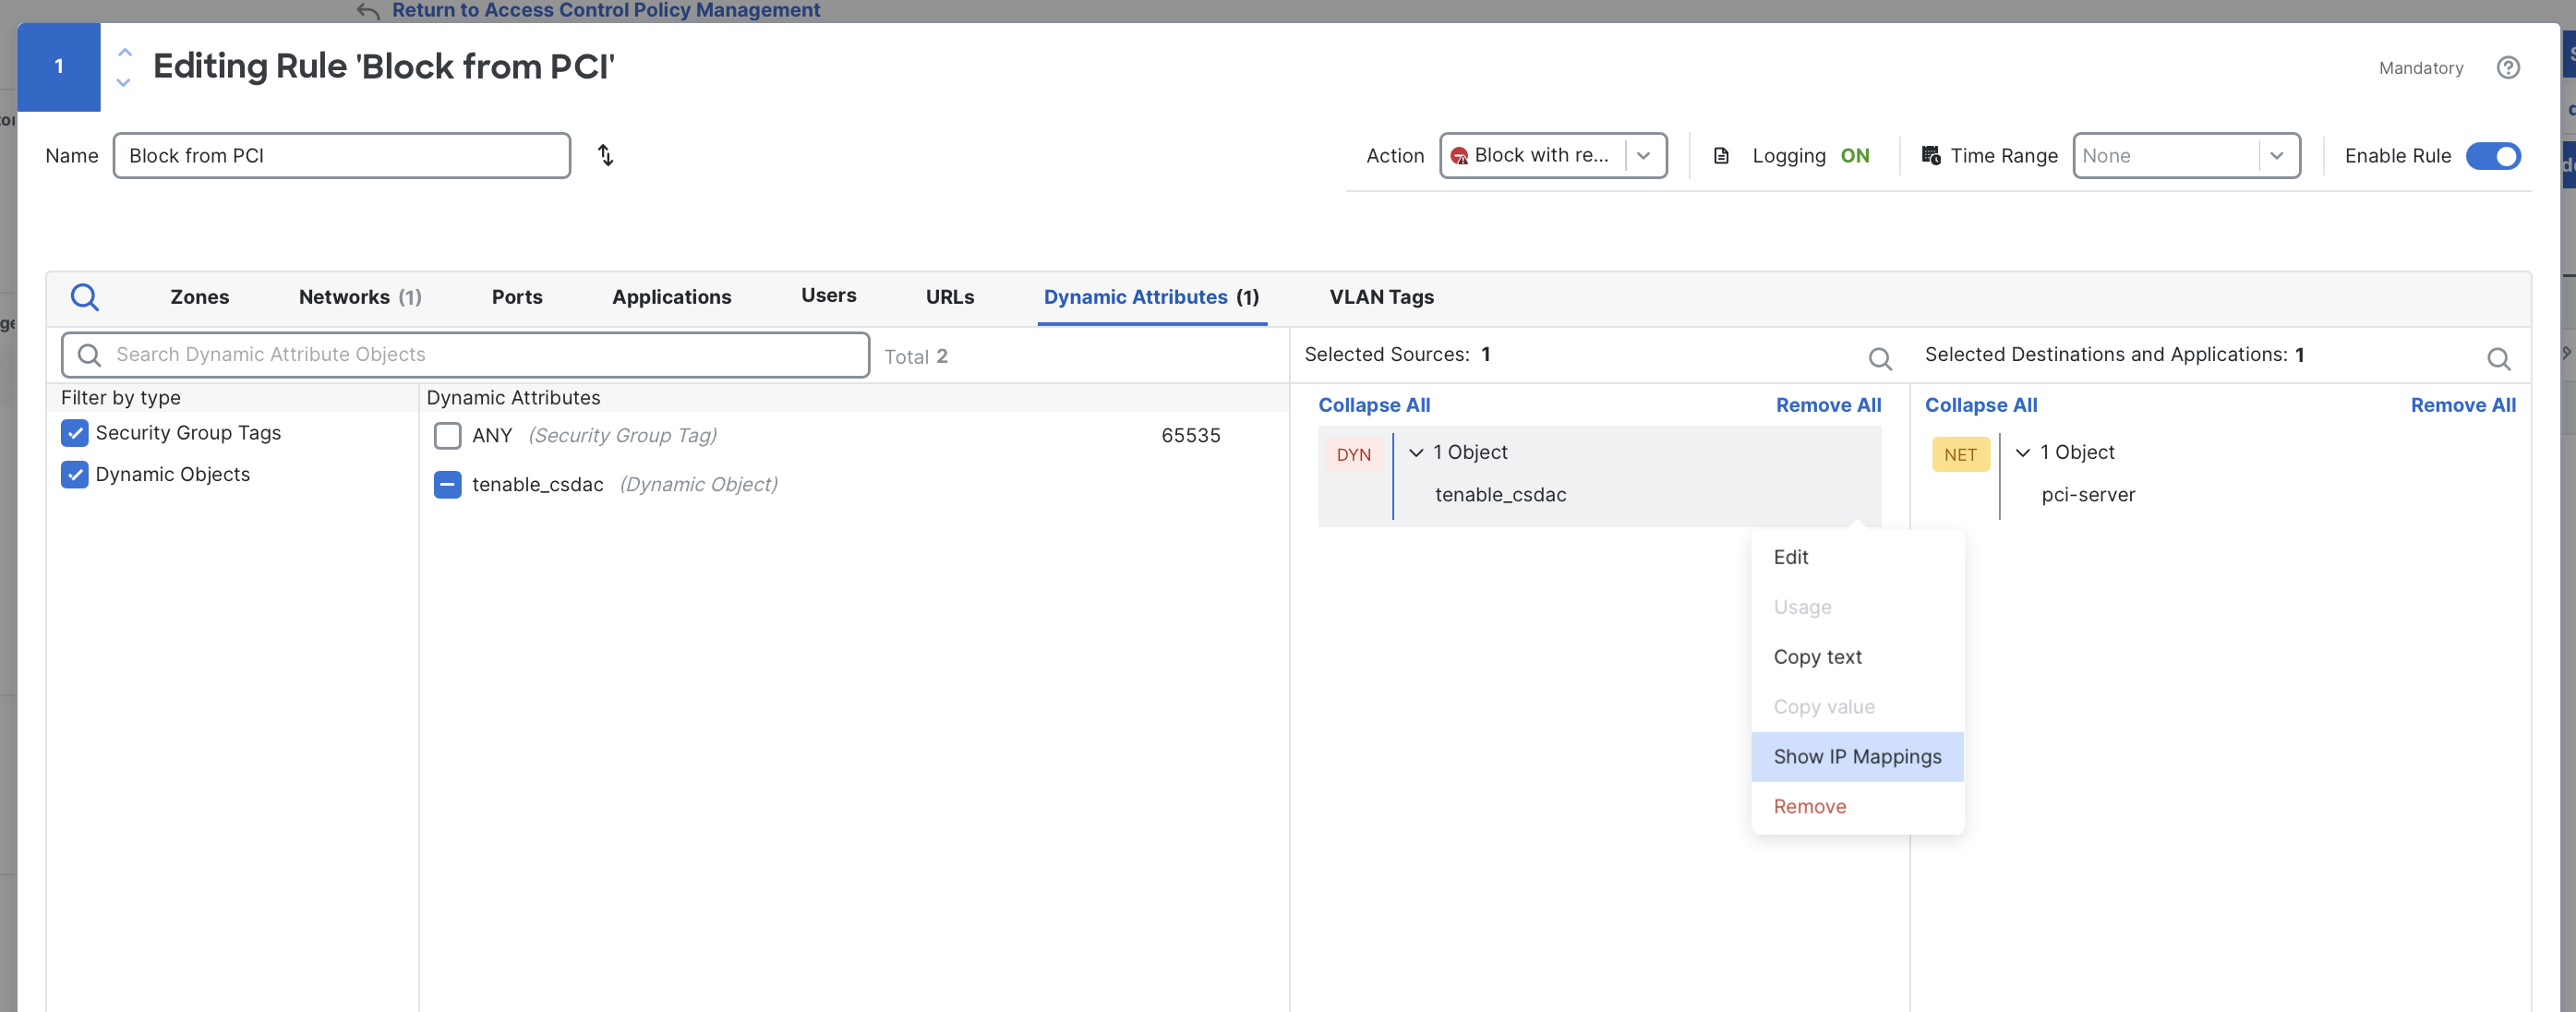
To view the current IP addresses mapped to the dynamic object, click the ⠇(three dots) next to the object in the rule editor and click Show IP Mappings. A popup window will display all IP addresses currently included.
Virtual patching with Tenable vulnerability data
The Tenable connector populates Cloud-Delivered Firewall Management Center (cdFMC) with a list of hosts that have at least one mapped vulnerability, along with the specific CVEs associated with each host. cdFMC uses this data to apply a form of virtual patching through a feature called intrusion policy recommended rules.
What are recommended rules?
When you create a custom intrusion policy, you begin by selecting a base policy. A base policy is a curated intrusion ruleset maintained by Cisco Talos and aligned to different organizational security postures:
- Security Over Connectivity: Emphasizes maximum protection, accepting higher false-positive potential and some performance impact. This policy typically enables roughly 20,000 rules.
- Balanced Security and Connectivity: This most commonly-used based policy is a middle-ground that provides strong coverage with minimal false positives. This policy typically enables around 10,000 rules.
- Connectivity Over Security: Prioritizes operational stability and lower false positives at the expense of less coverage. This policy typically enables roughly 500 rules.
- Maximum Detection: A comprehensive, high-noise policy designed primarily for testing, analysis, and lab environments, often enabling more than 40,000 rules and generally not recommended for production use.
While these curated defaults offer broad protection, they are not specific to any one environment. Traditionally, administrators further customize intrusion policies by manually enabling or disabling rules.
Recommended rules simplifies this process. Using the host and vulnerability information imported from Tenable Vulnerability Management, cdFMC compares the CVEs present in your environment with the CVE metadata contained in the intrusion rule set. If a rule covers a CVE that Tenable has identified on one of your hosts, the system can recommend enabling that rule. This set of recommendations can be regularly updated, ensuring that intrusion rules stay aligned with newly-discovered vulnerabilities.
Configuring recommended rules
To configure recommended rules based on Tenable vulnerability mappings, follow the steps below.
Intrusion policy assumptions
This guide assumes you have a custom intrusion policy that is assigned to access control rules. If you have not yet created a custom intrusion policy, refer to this guide. To learn how to attach an intrusion policy to an access control rule, see this documentation .
-
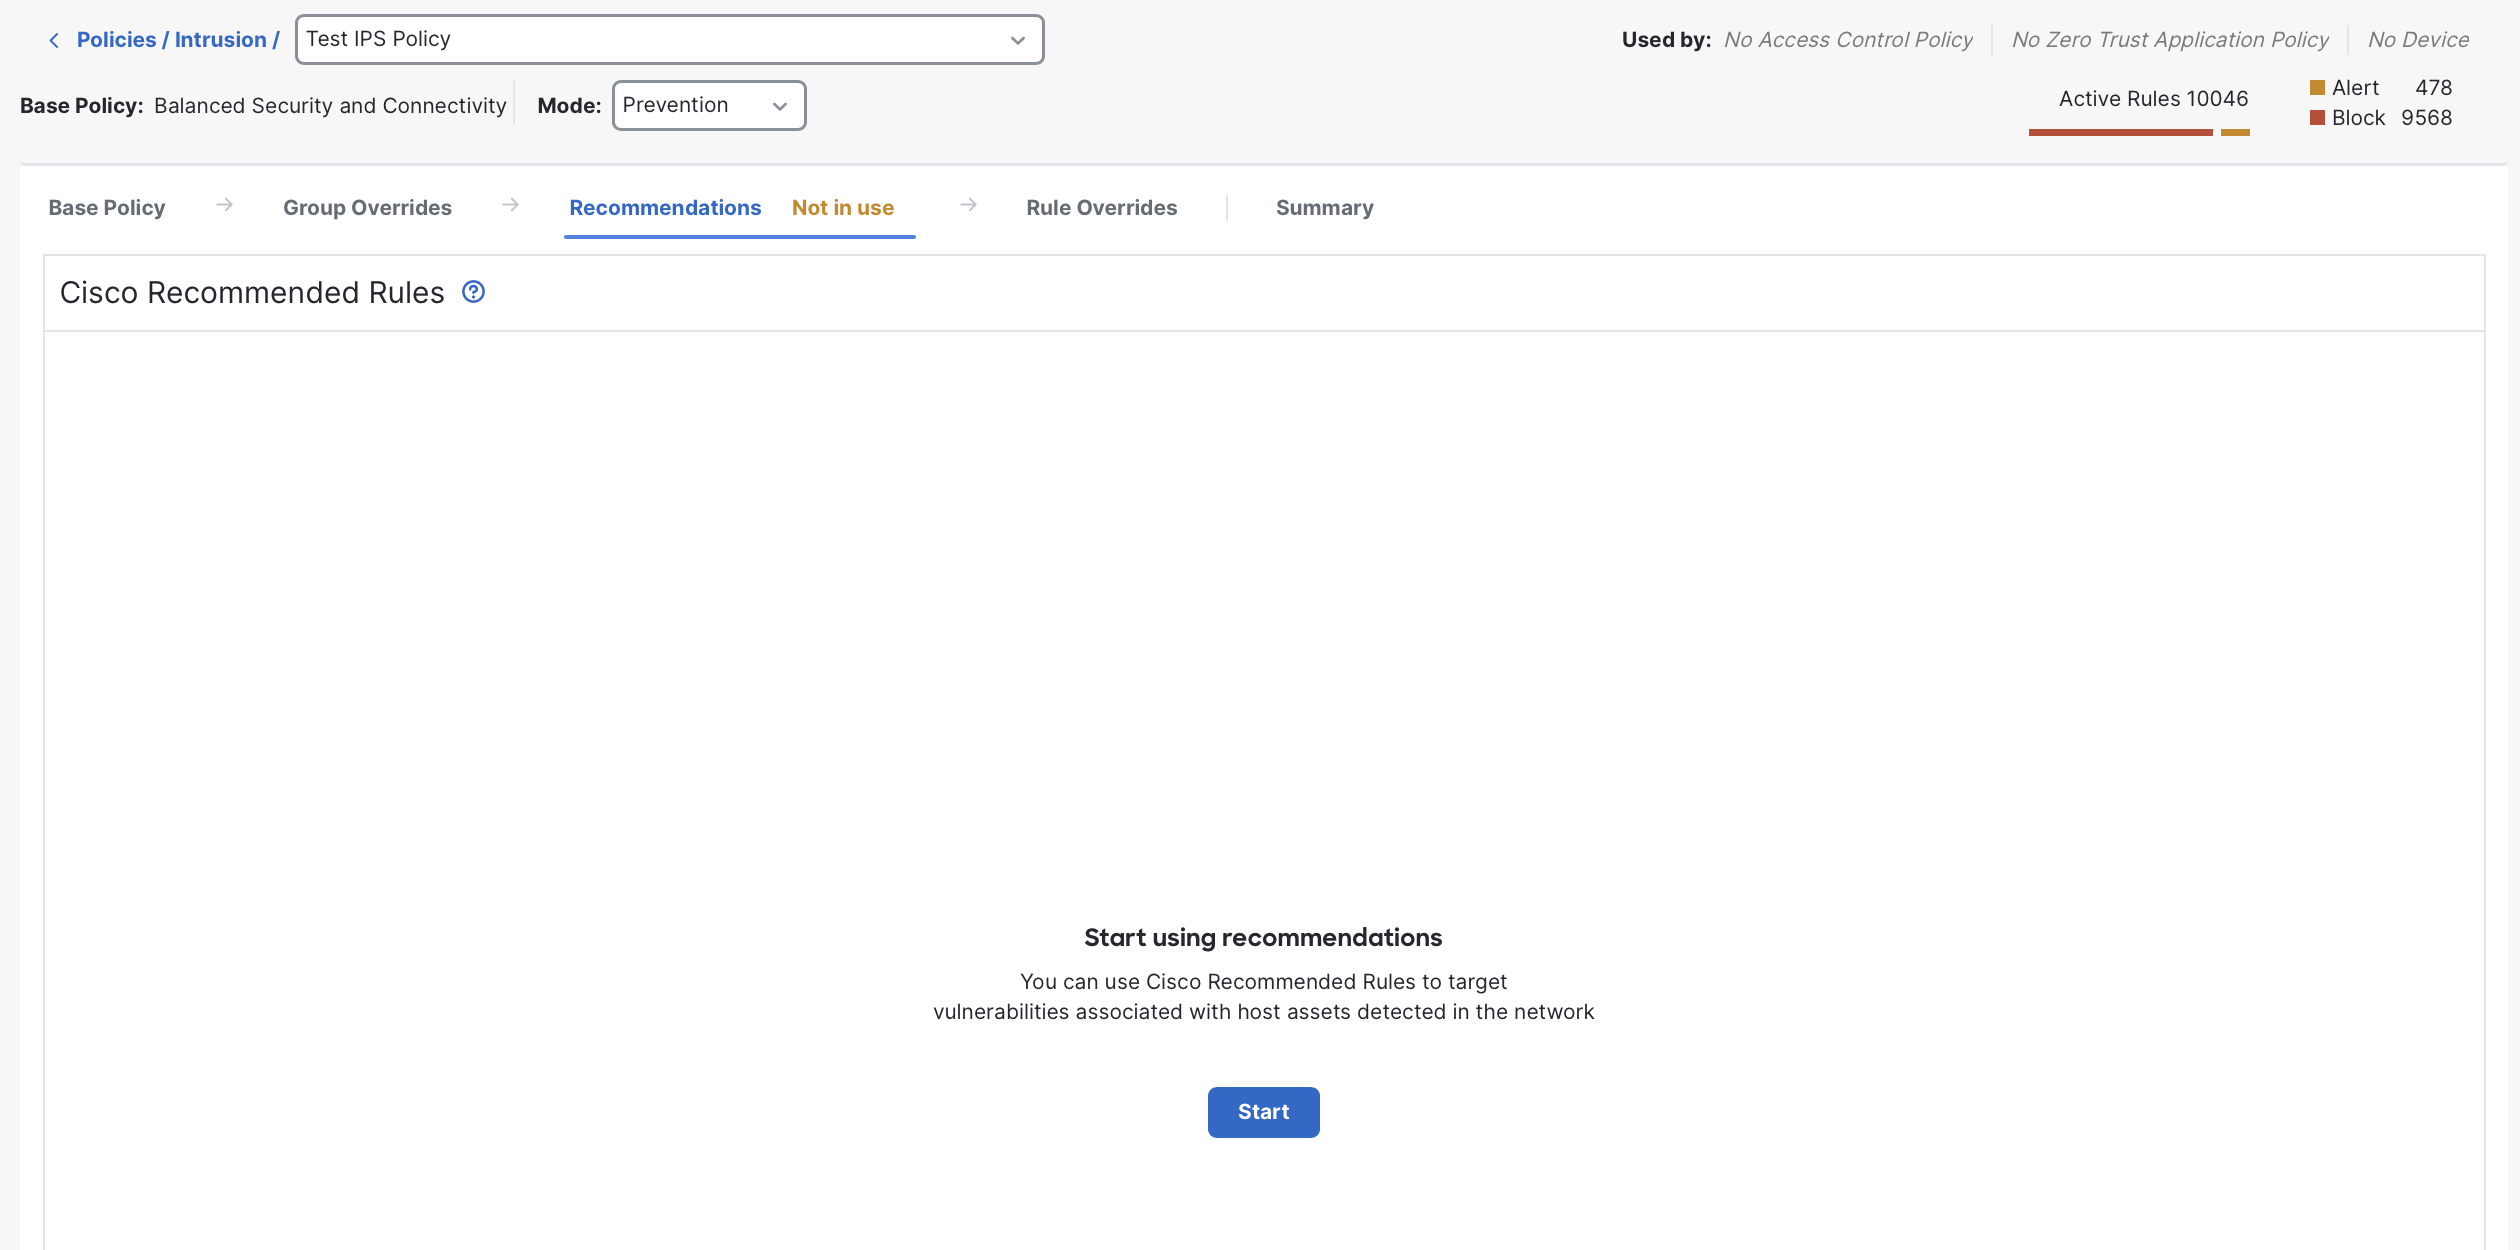
In Cloud-Delivered Firewall Management Center (cdFMC), navigate to Policies > Intrusion. Locate the intrusion policy you want to modify and click Snort 3 Version to edit it.
-
Open the Recommendations tab and click Start to begin configuring recommended rules.
-
The Cisco Recommended Rules popup will appear. Configure its fields as follows:
- Security Level: This setting determines how aggressive the system should be when selecting additional rules to enable. A general rule of thumb is to choose one level higher than the base policy you started with. The security levels align to base policy families as follows:
- Level 1: Connectivity over Security
- Level 2: Balanced Security and Connectivity
- Level 3: Security Over Connectivity
- Level 4: Maximum Detection
- Accept Recommendation to Disable Rules: When enabled, the system disables any rule that does not explicitly correspond to a vulnerability identified by Tenable. This option is strongly discouraged except in very resource-constrained environments, as it can lead to significant false negatives and remove base protections your organization may still require.
- Protected Networks: Optionally limit evaluation to a specific set of protected networks. For example, if this intrusion policy is used only for DMZ servers, you may list those subnets here. In most environments, leaving this field blank is recommended, ensuring that all Tenable-reported hosts and vulnerabilities are evaluated.
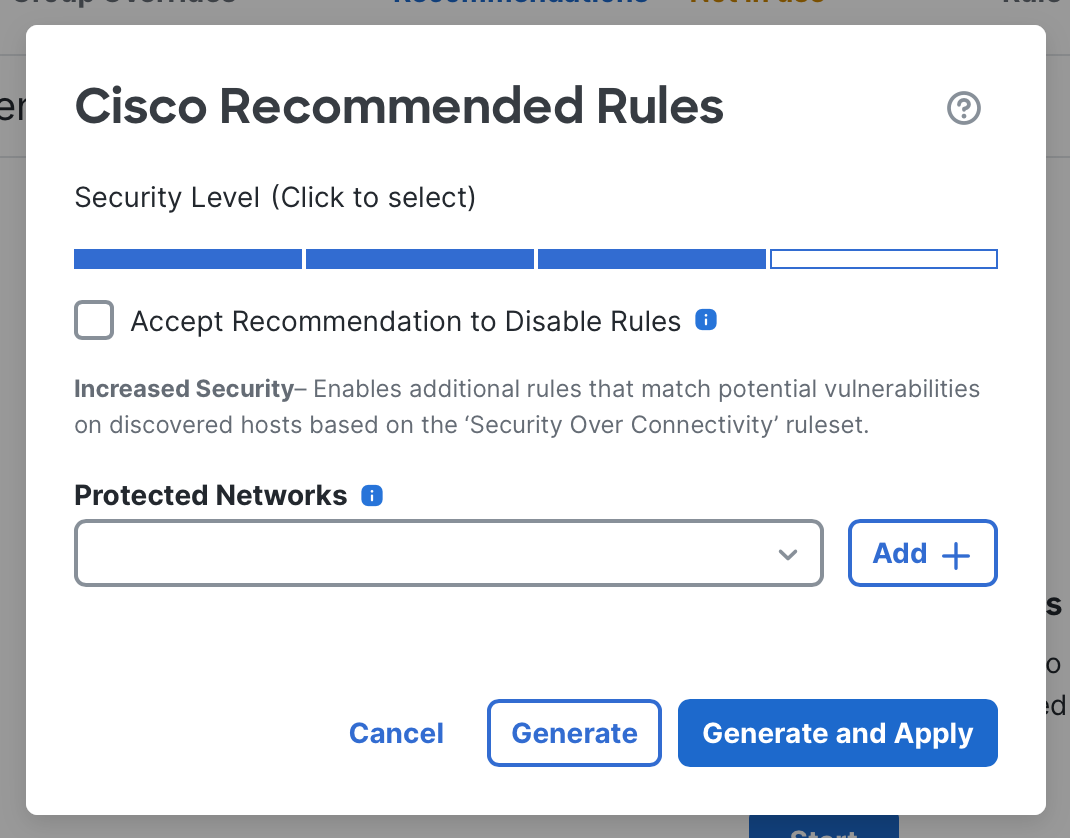
Cisco recommended rules configuration
- Security Level: This setting determines how aggressive the system should be when selecting additional rules to enable. A general rule of thumb is to choose one level higher than the base policy you started with. The security levels align to base policy families as follows:
-
Click Generate to evaluate recommended rules. You may review the results before applying them. Alternatively, clicking Generate and Apply will automatically accept all recommendations.
-
Once generated, the Recommendations tab shows a list of intrusion rules that match CVEs identified by Tenable on your hosts. Below is an example of this matching.

Recommended rules has enabled an intrusion rule providing coverage against CVE-2020-1472.
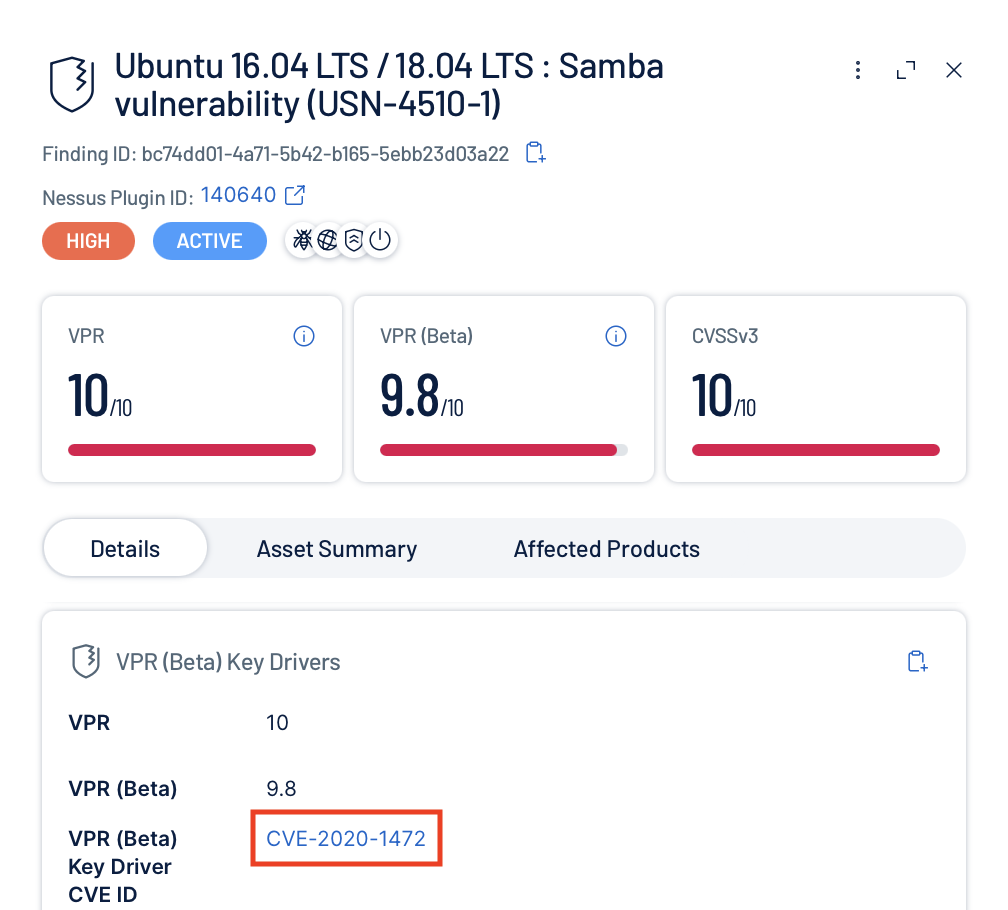
This corresponds directly to Tenable reporting the same vulnerability in the network.
-
After reviewing the recommended rules, click Accept to apply them to the intrusion policy. The changes take effect after the next policy deployment by clicking Deploy in the top menu bar.
Because Tenable findings change over time, it is recommended to periodically refresh recommended rules. Click Refresh in this tab to reevaluate recommendations; the updated rules will apply after your next deployment.
A note on intrusion policy layers
Intrusion policies contain up to four layers of rule state configuration:
Base Policy > Group Overrides > Recommendations > Rule Overrides
For any given rule, the setting in the rightmost layer takes precedence.
This means that recommended rules will override the base policy and group overrides. However, you can still adjust individual rule behavior after accepting recommendations by creating explicit rule overrides, which take precedence over all other layers.
Summary
The Tenable connector brings vulnerability context directly into Hybrid Mesh Firewall, allowing the firewall to respond not only to traffic, but to the actual exposure of the systems it's protecting. Rather than relying solely on static intrusion policies or manually maintained network objects, administrators gain a living view of which hosts are vulnerable and which intrusion rules matter most for their environment.
This integration enhances, but does not replace, established security practices. Patch management, hardening, and continuous monitoring remain essential, and the Tenable connector complements them as part of a defense-in-depth strategy. By aligning network controls with current vulnerability data, it helps ensure your protections stay synchronized and relevant to the evolving state of your network.
Updated about 5 hours ago