Firewall Foundation Lab Guide
Zero to hero with Secure Firewall
Overview
This lab covers the key tasks required to bring a newly installed FMC and FTD to an operational state. It is intended to walk the user through the various tasks required to ensure you have a functional and secure firewall.
There are a number of scenarios available which are outlined below. Users should start at the beginning which will take you through initial setup of the FMC, device registration, zone and interface setup, routing and NAT policies. You can then proceed to configuring threat protection such as Discovery policy, Intrusion policy using Snort 3, Malware & File policy, Security Intelligence, Decryption policy and finally Access Control rules and advanced settings.
To accomplish these labs, we will use the dCloud lab environment. There are a number of VMs deployed including Firewall Management Center (FMC), FTD devices, as well as Windows Domain Controllers and other Windows and Linux hosts. There are also CSR routers to simulate various internal network segments in a typical organization.
List of Lab Scenarios
- Initial Configuration
- Network Configuration
- Threat Configuration
- Access Control
Prior to starting, please complete Scenario 0 below to ensure your lab environment will operate correctly.
Scenario 0: Familiarization with dCloud Environment
Environment Overview
The below is the topology of the dCloud lab.
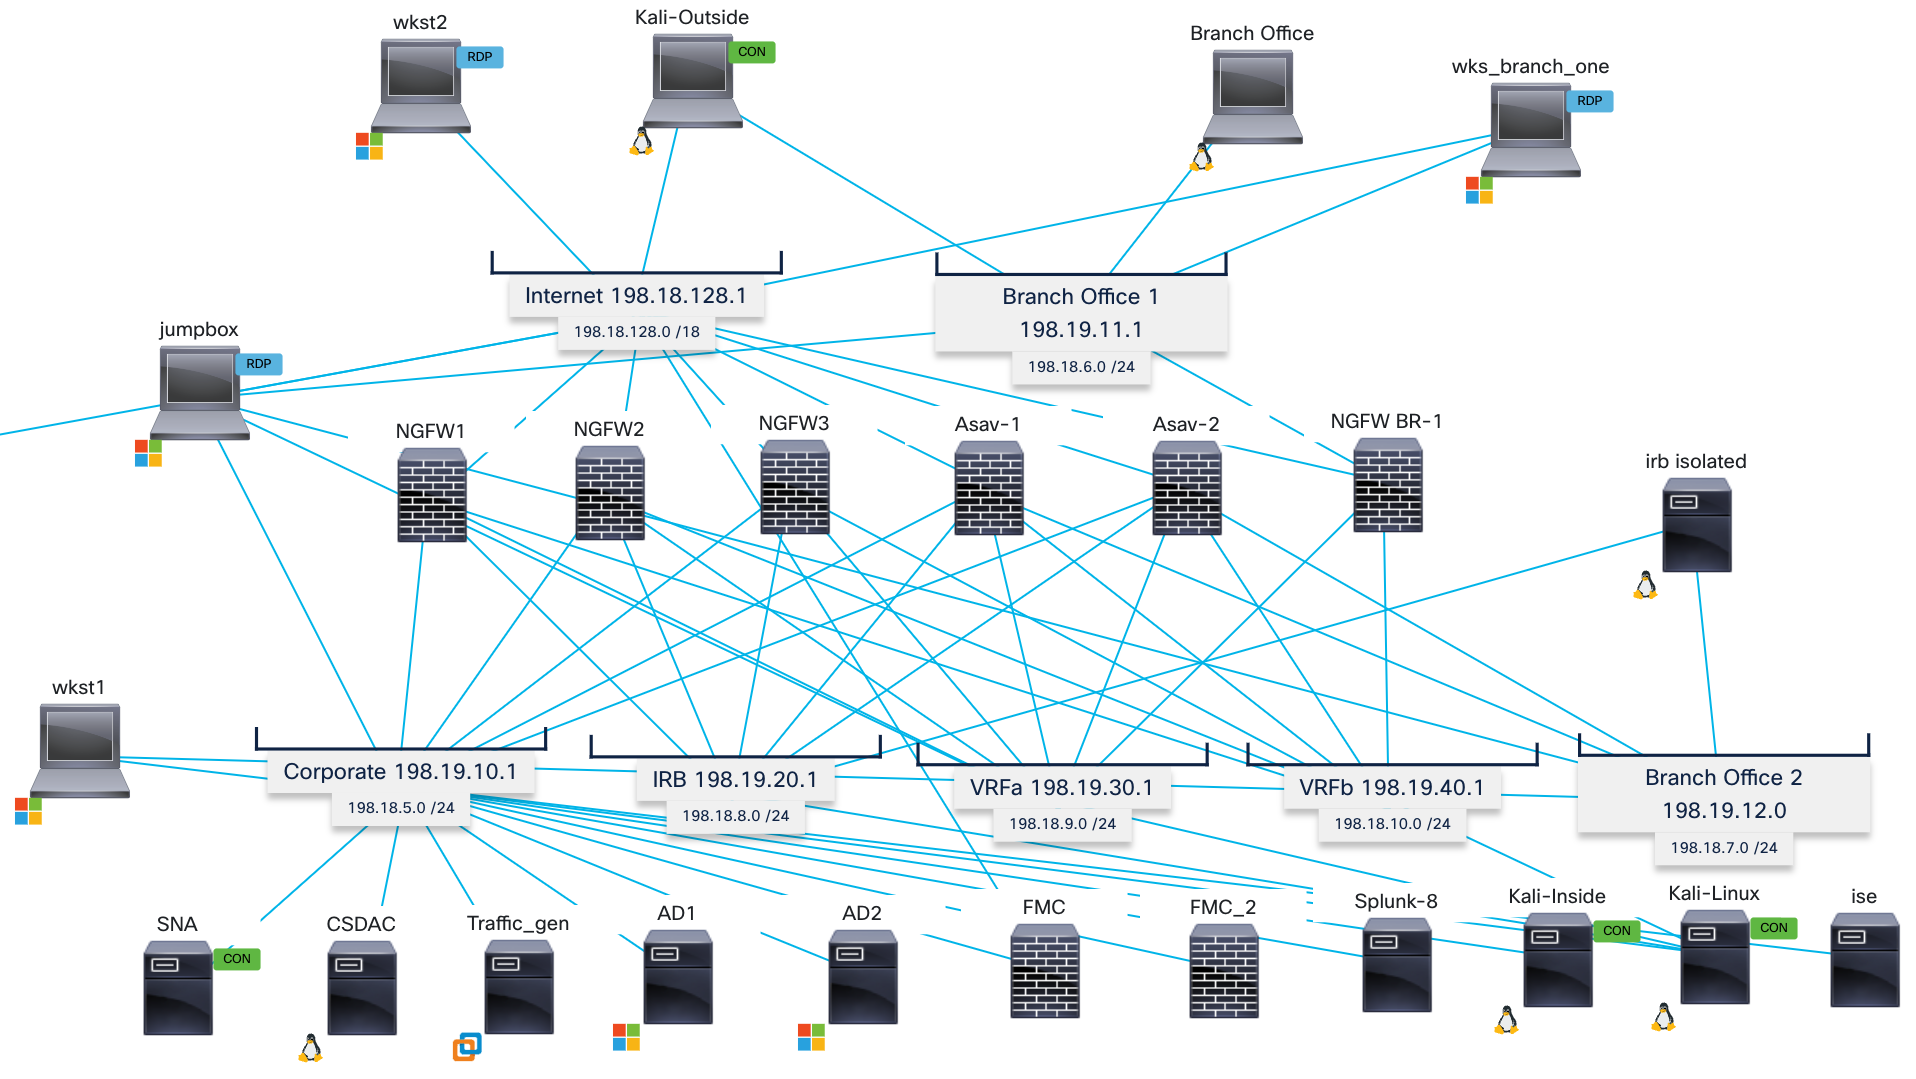
dCloud topology
- On the topology window, locate the Jumpbox. Click on its icon (on the computer screen). Options for the Jumpbox should open on the left-most panel. The Jumpbox is a Windows machine and has multiple Network Interface Cards (NICs) and therefore will be a host on different subnets, depending on the lab scenario. The credentials for the Jumpbox and all other Windows machines are administrator / C1sco12345.
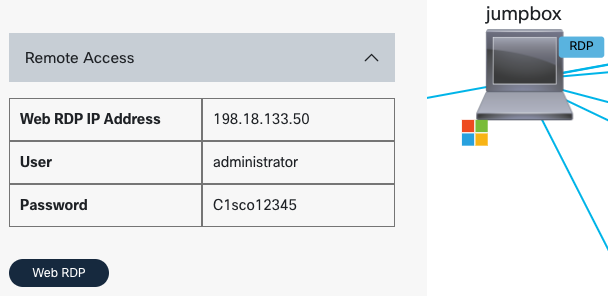
Jumpbox Credentials
From the left drop-down, click Web RDP to connect to it.
- The first time you connect to the Jumpbox, Windows will automatically launch Quick Launch. This is a web page providing you shortcut access to devices used in our lab scenarios. Have a look at some of the names on the menu. You will recognize devices also seen on the topology found at the beginning of this document.
- Blue buttons open Putty SSH sessions.
- Green buttons open browser sessions.
- Red buttons open RDP sessions.
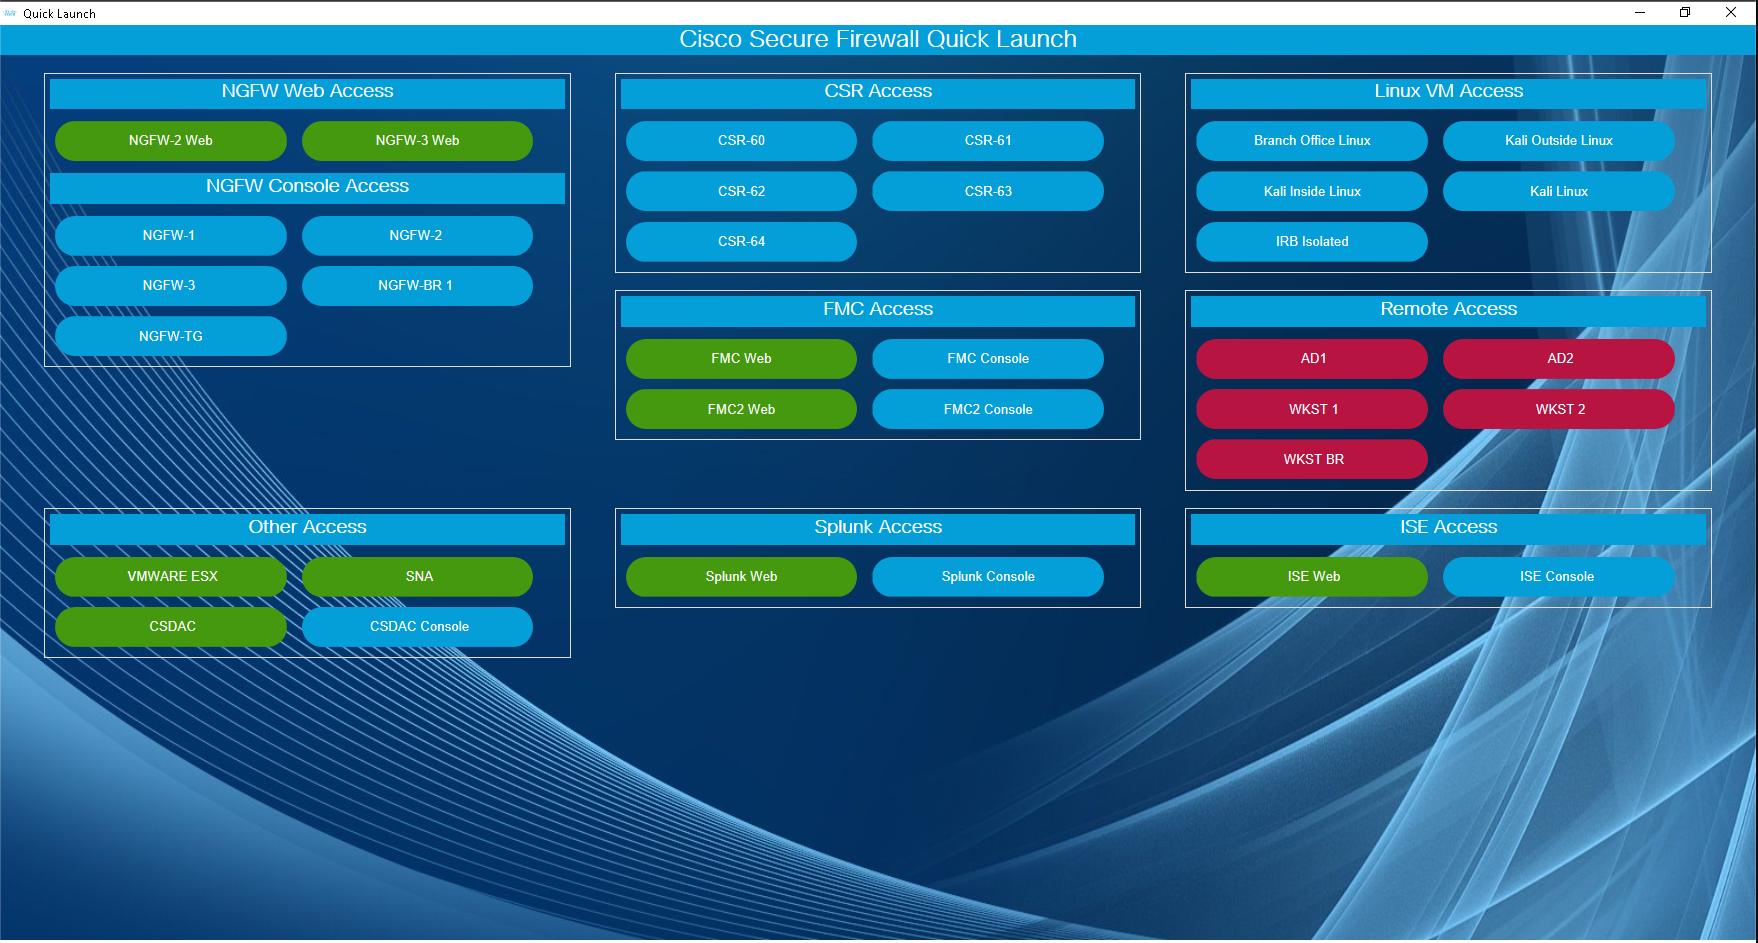
Jumpbox Quick Launch Application
- If you close the Quick Launch and want to open it again use the icon on the desktop.
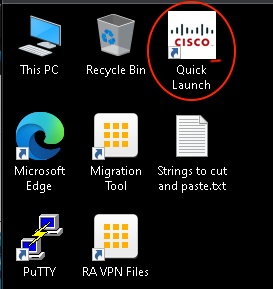
Closing Quick Launch Application
Display Improvements
- To get crisper fonts on Jumpbox, perform a Windows search for ClearType.

ClearType Search
- Turn on ClearType. The improvement will be immediate.
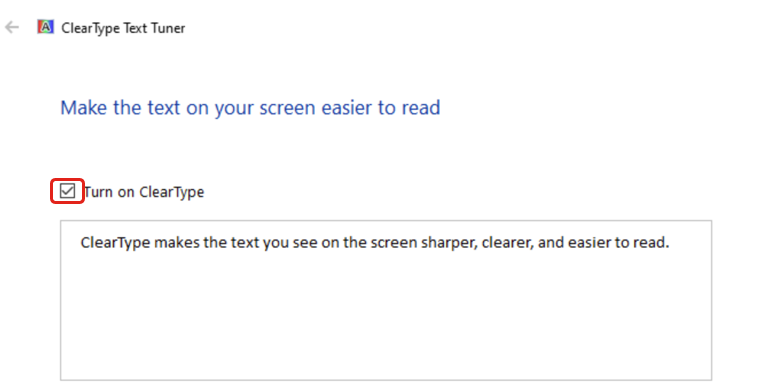
ClearType Activation
Time Synchronization (Important)
-
Next, the time on the Jumpbox must be properly synchronized. Right click on the time in the lower right corner and select Adjust date/time from the menu. Adjust the time zone to your local time if desired.
-
If this time is not correct, resynchronize the clock using the following procedure:
i. Click the Sync now button in the dialog
ii. Confirm the Jumpbox time is now set correctly.
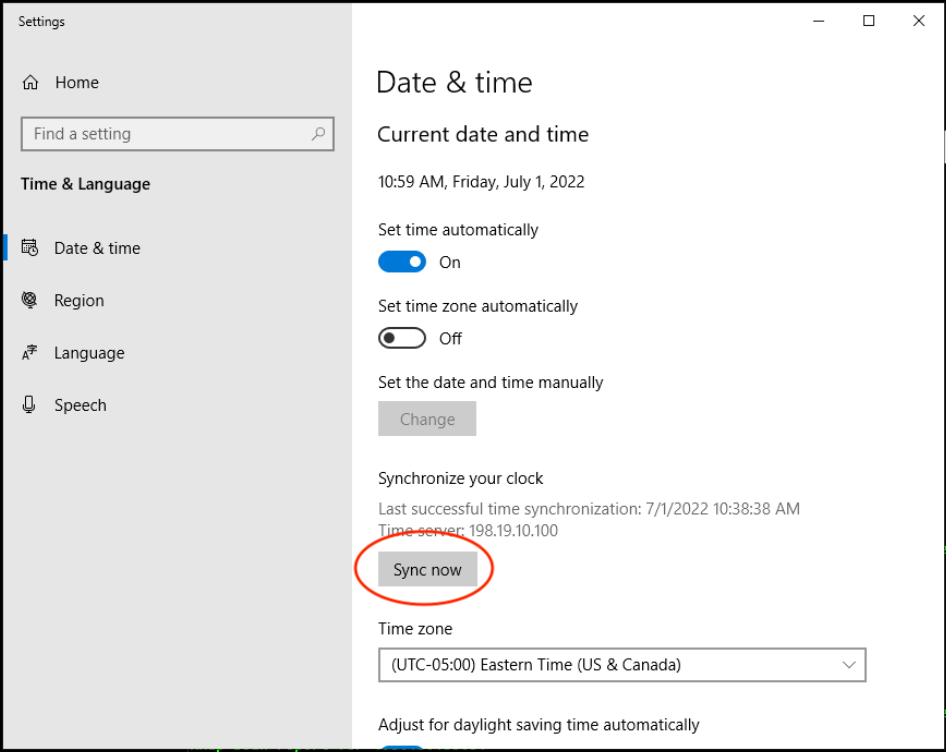
Date & Time Synchronization
Success!
You are now ready to start the Lab. Lab away and enjoy!
Tell us how we are doing
We are doing our best to ensure the scenarios in this lab guides are useful, clear and work as expected.
Please share your thoughts to help us improve or fix any problems you may run into..
Click here to provide your feedback or report an issue with this guide
Updated about 1 year ago
Users can pick either of the two scenarios below to move forward with (there is no dependency)

